Hi Everyone!
In the previous post we have deployed a webapp in the ASE, but the webapp is not accessible, more precisely we are not able to resolute the DNS name. In this post we will see how to resolute the ASE hosted webapp DNS, so let’s get started.
In general, when you are deploying any PaaS services in Microsoft Azure, it comes with routeable DNS name. So, once resource is created you can access it using url. But, in case of internal App Service Environment you have to manage your own DNS. you can do it in your own DNS server or you can leverage Azure DNS private zones.
Note: When you are using External ASE, apps made in your ASE are registered with Azure DNS. There are no additional steps required in an External ASE for your apps to be publicly available.
In this blog post, I will implement with Azure DNS private zones, however I will start with steps in case you are managing your DNS server.
To configure DNS in your own DNS server
- Create a zone for intranet.appserviceenvironment.net (i.e < ASENAME >.appserviceenvironment.net)
- Create an A record in that zone that points * to the ILB IP address i.e
10.20.30.11 - Create an A record in that zone that points @ to the ILB IP address i.e
10.20.30.11 - Create a zone in .appserviceenvironment.net named scm
- Create an A record in the scm zone that points * to the ILB IP address i.e
10.20.30.11
If you are not sure about, how did I get IP and the ASE name, I would suggest to check this post.
To configure DNS in Azure DNS Private zones
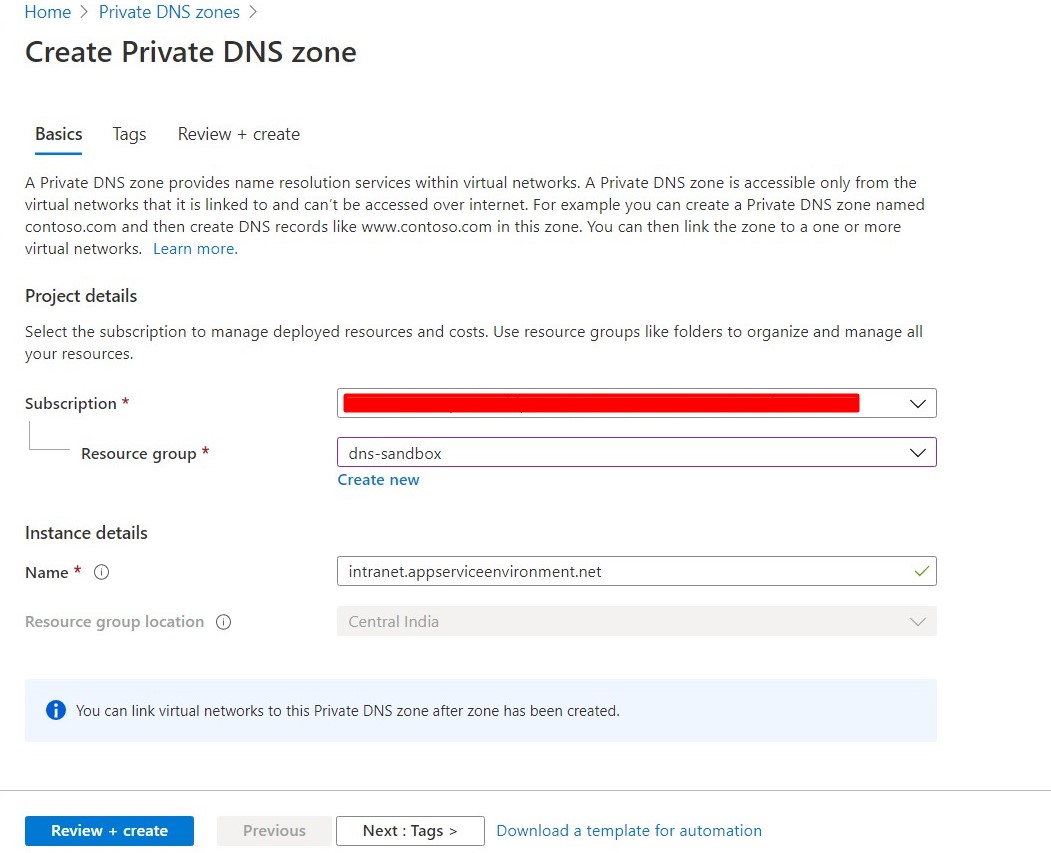
First step will be to create a Azure DNS Private Zone with ASE domain name, to do that go to portal and search for Azure DNS Private zones and deploy a new zone with below details -
Resource Group : dns-sandbox
Name : intranet.appserviceenvironment.net
 Once deployed, Click on + Record Set as shown below -
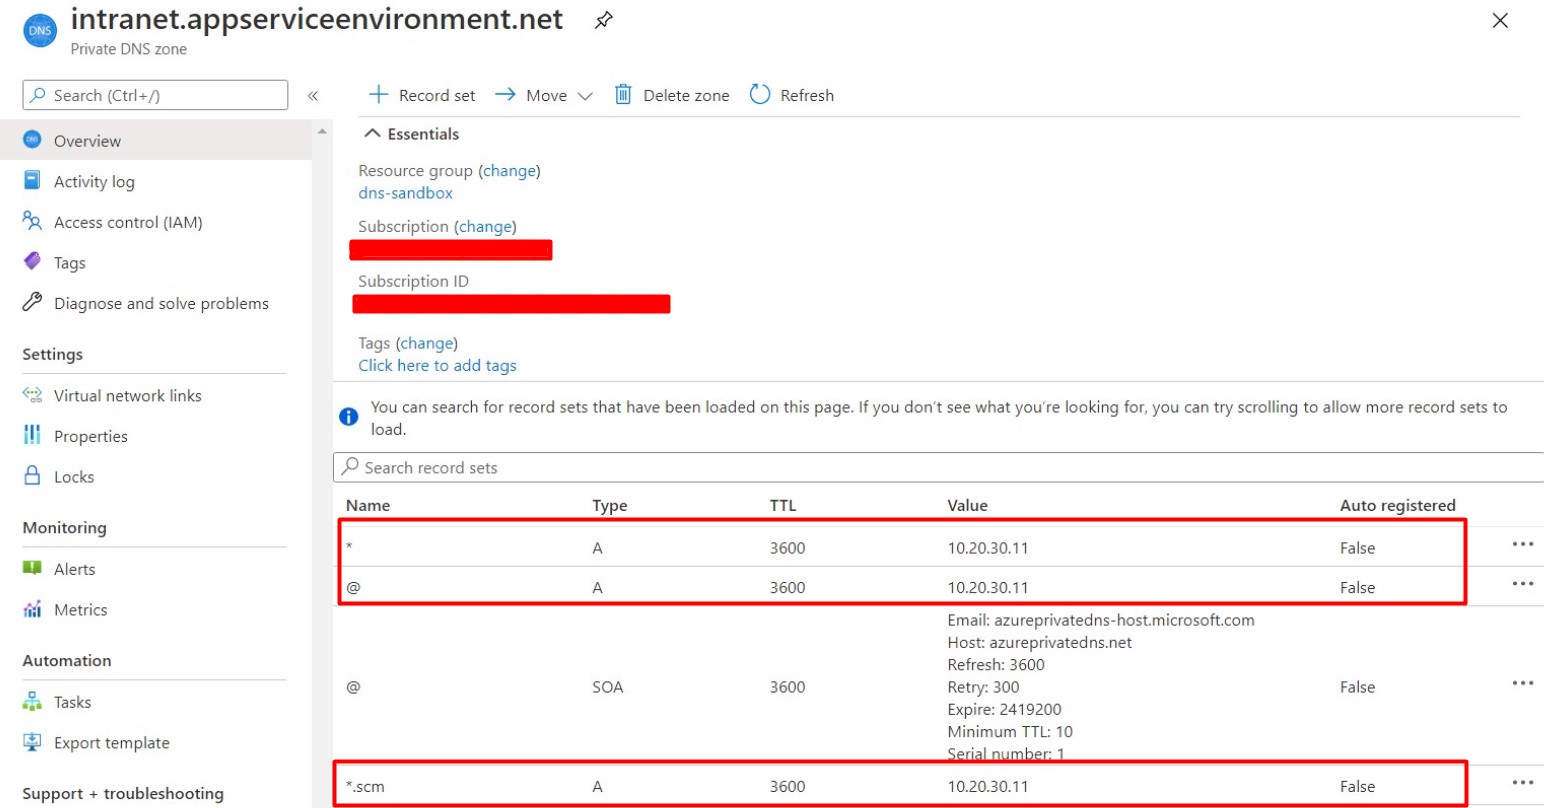
 We will need to add below entires -
- A record in that zone that points * to the ILB IP address i.e
10.20.30.11 - A record in that zone that points @ to the ILB IP address i.e
10.20.30.11 - A record in that zone that points *.scm to the ILB IP address i.e
10.20.30.11
Once done, it should look like this
Now, let’s try to do nslookup intranet.appserviceenvironment.net from either on-premise or azure vm
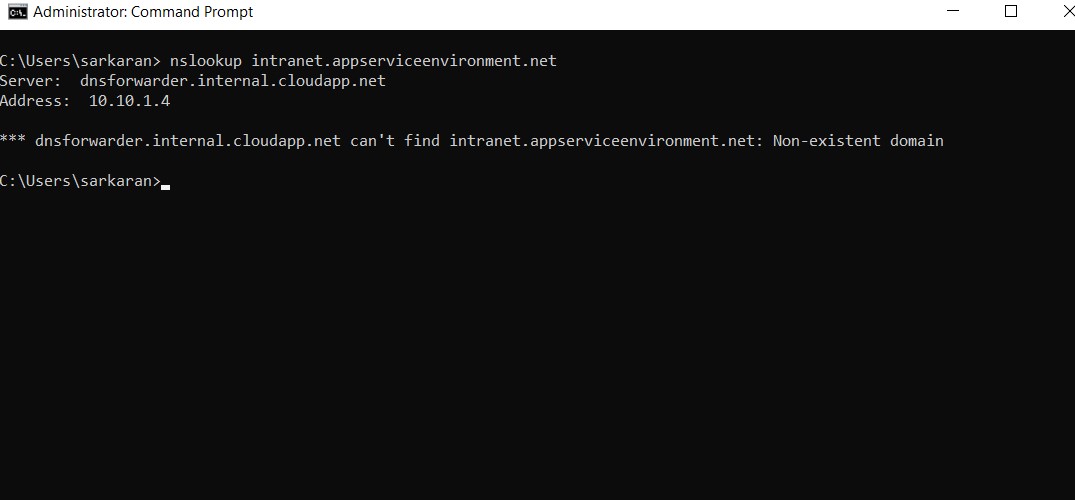 Oops! it still fails. That’s because we missed to link this zone to virtual network. In our case we will link with
 hub-vnet. To do that Click on Virtual Network links from side bar and link it. Once completed, it should look like this
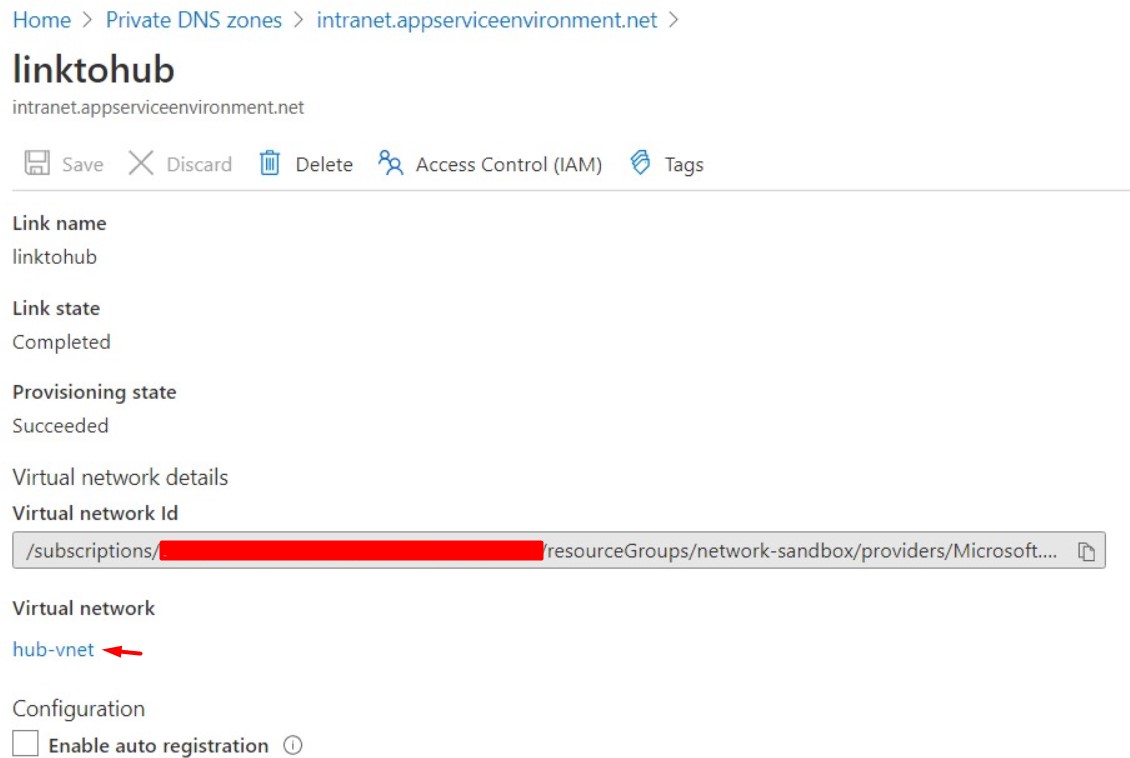
Try to access the webapp from Azure VM and from on-prem (provided you have DNS forwarder set up correctly, in case you need help check this post) it started working!
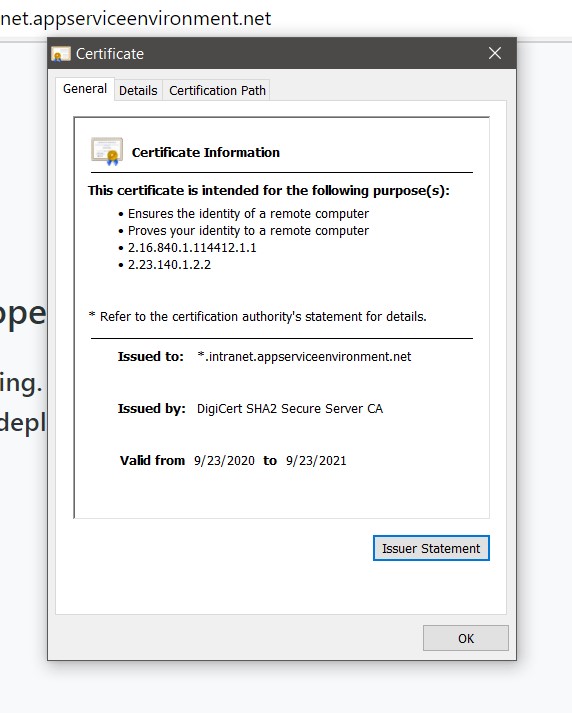
 Let’s see the certificate provided by Azure, seems working!
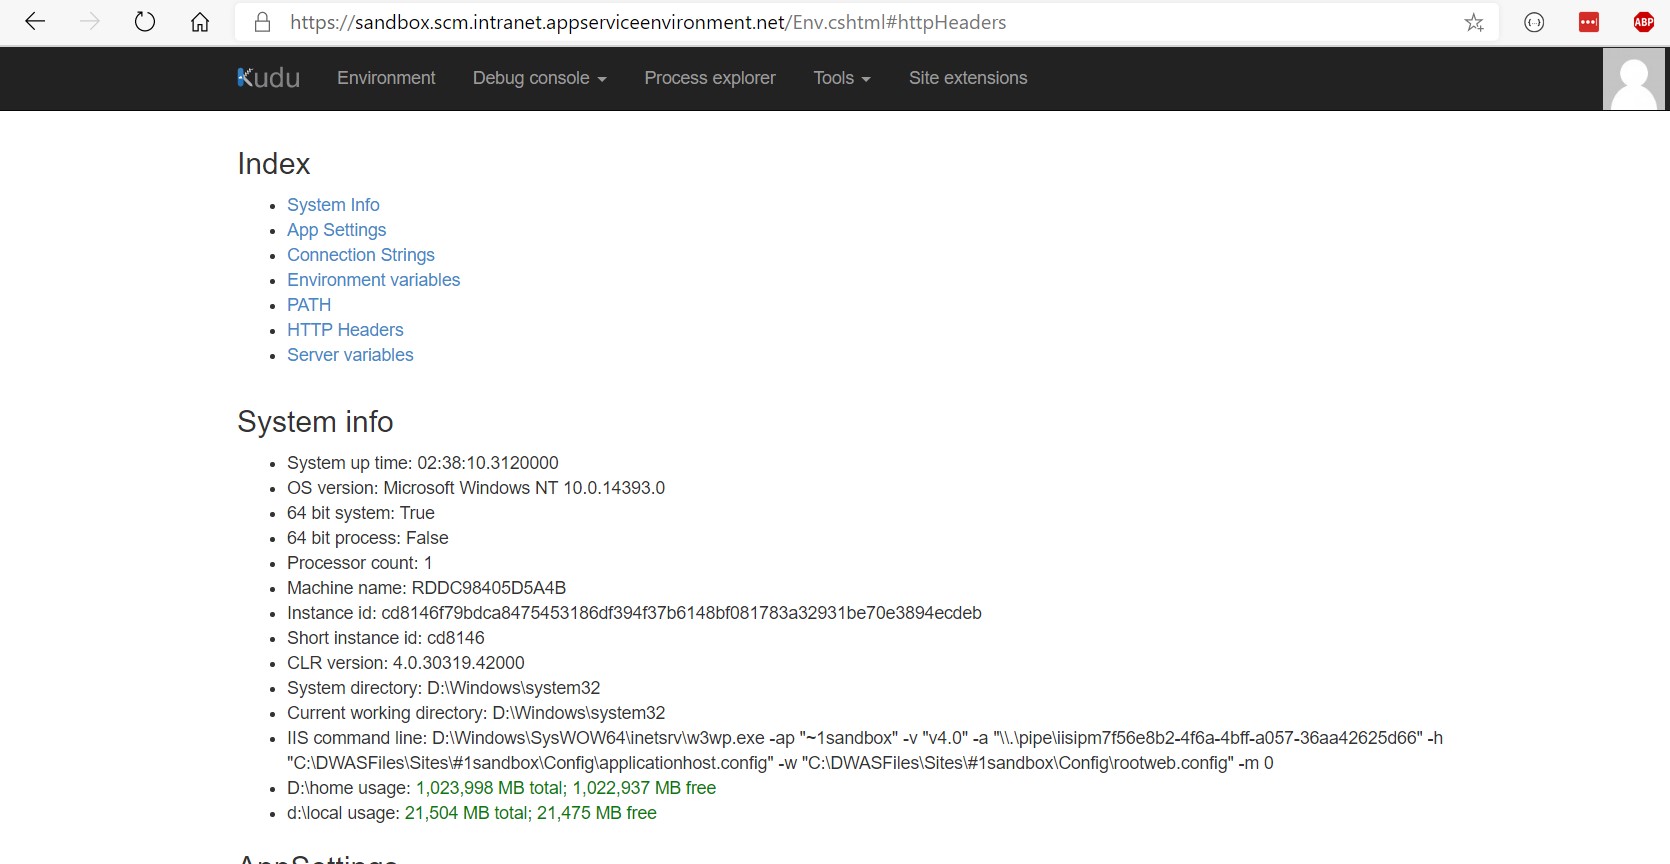
Also,check the scm site.
All looks good finally. In the next post we will create a new webapp with Azure Sql and deploy it through Visual Studio.
Comments