Create a WebApp in App Service Environment
Hi Everyone!
This post is continuation of a series about Azure App Service Environment (ASE v2). Over the time, I will updated this page with links to individual posts :
Deploy App Service Environment in Microsoft Azure
This Post - Create a WebApp in App Service Environment
Access App Service Environment Hosted WebApp from Azure Network and from On-Prem
Add Custom Domain for App Service Environment Hosted WebApp
In the previous post we have deployed the ASE. In this post we will see how to create a new webapp, so let’s get started.
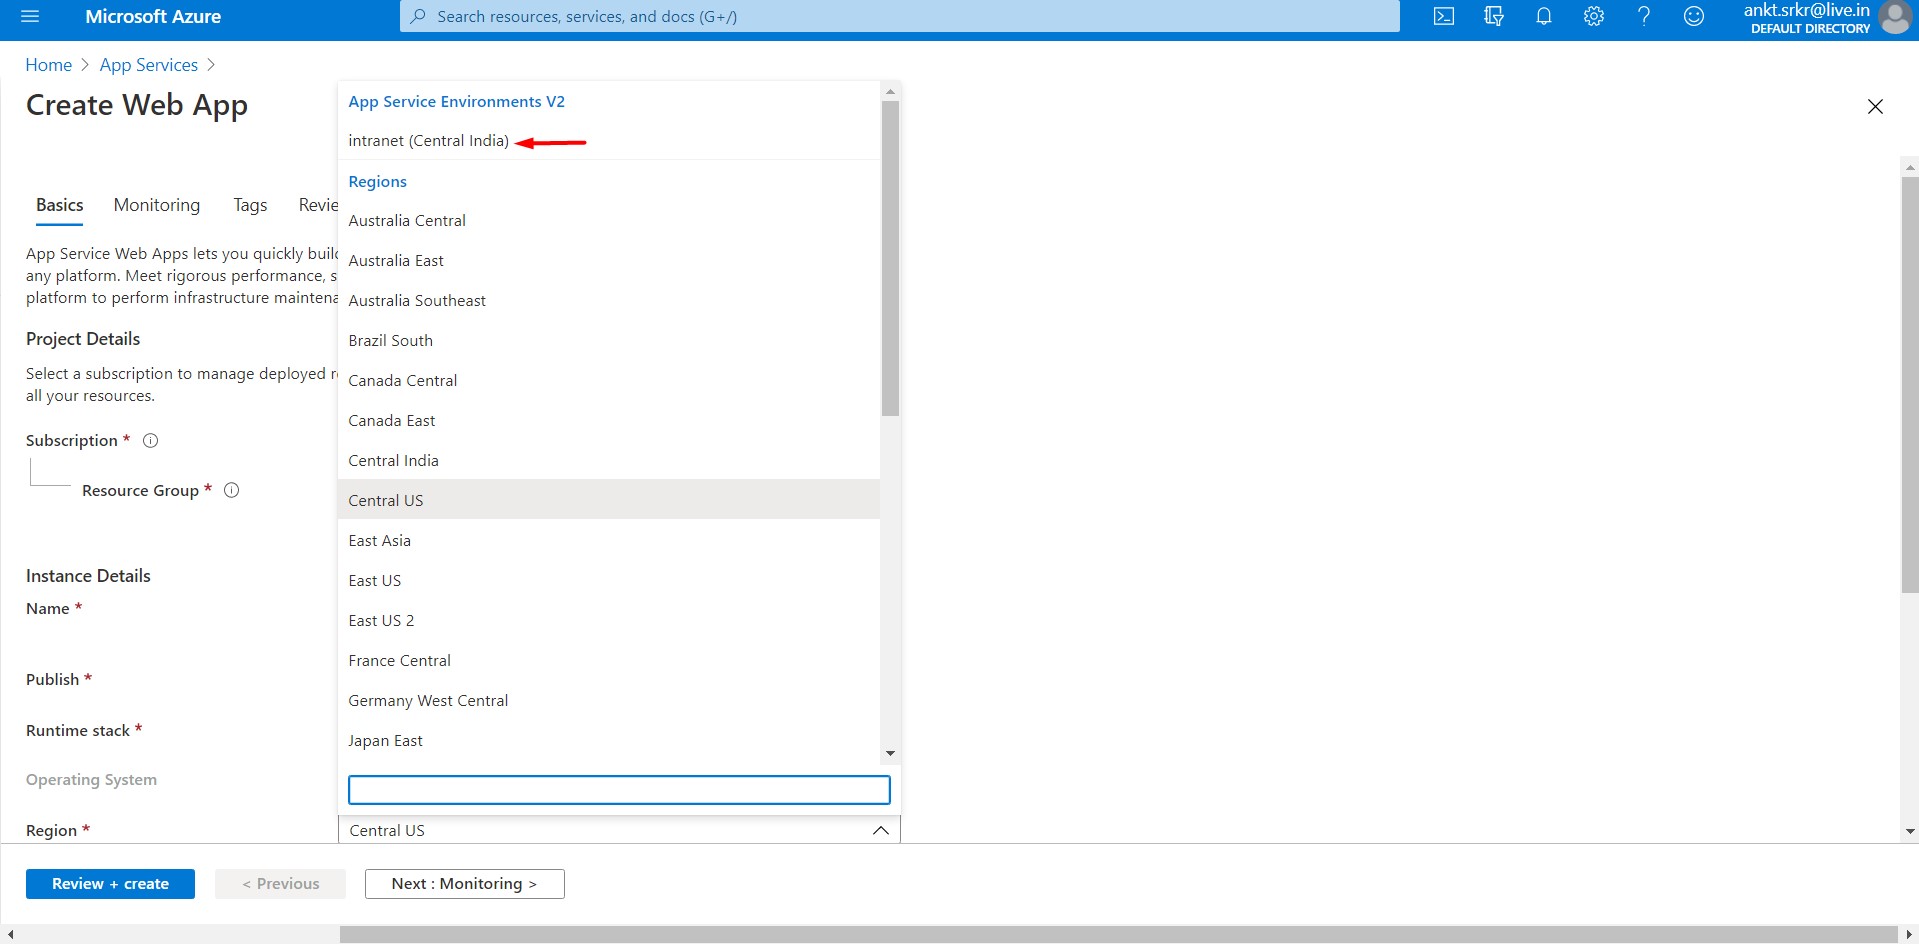
First thing first. We need to create a new App Service Plan to deploy a webapp. There is no special steps which is required to deploy a webapp in ASE. However, the main difference between deploying a webapp in ASE and a webapp in multi-tenant is Region selection.
Also,You have to choose App Service Plan which belongs to Isolated as one of:
- I1 210 ACU/3.5 GB RAM
- I2 420 ACU/7 GB RAM
- I3 840 ACU/14 GB RAM
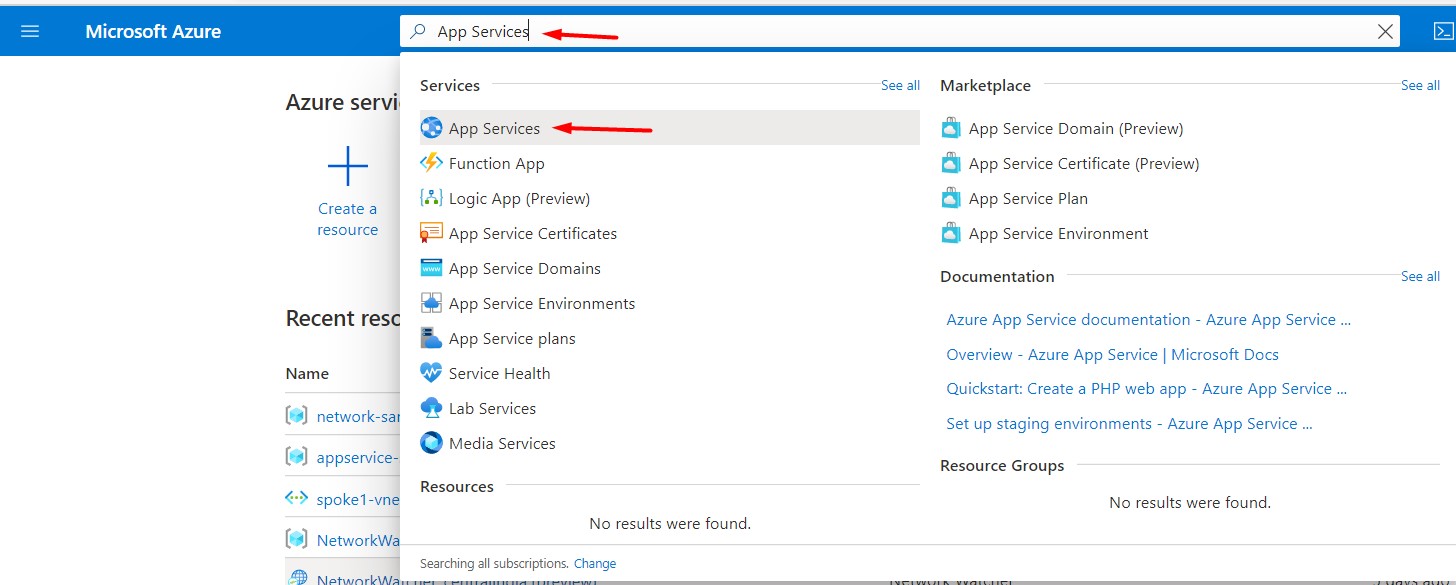
First Step is to login into your account and on the top search bar, type App Services and from the dropdown select “App Services”.
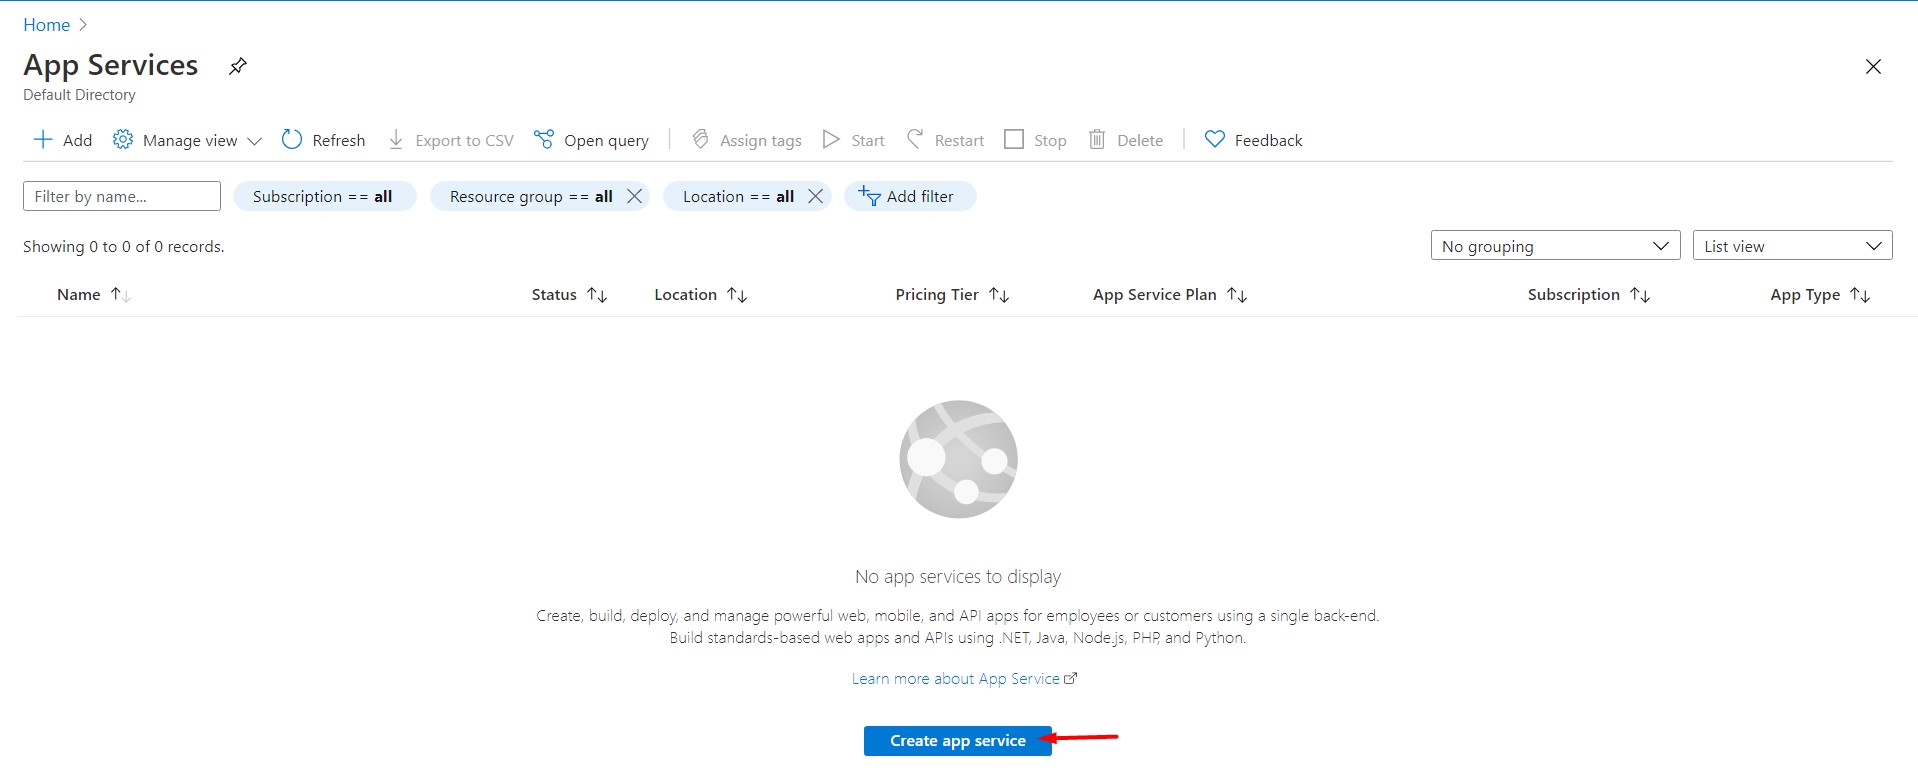
Now, click on Create app service
Now, select your Subscription and Resource Group and put details as below:
Resource Group : appservice-sandbox
Name : sandbox
Publish : Code
Runtime Stack : ASP.NET V4.7
Operating System : Windows
Region : intranet (Newly Created ASE)
App Service Plan : I1 (sandbox-appservice)
Application Insights : Not Enabled
Now, click on Review + create. Overview of app service should look like as below screenshot:
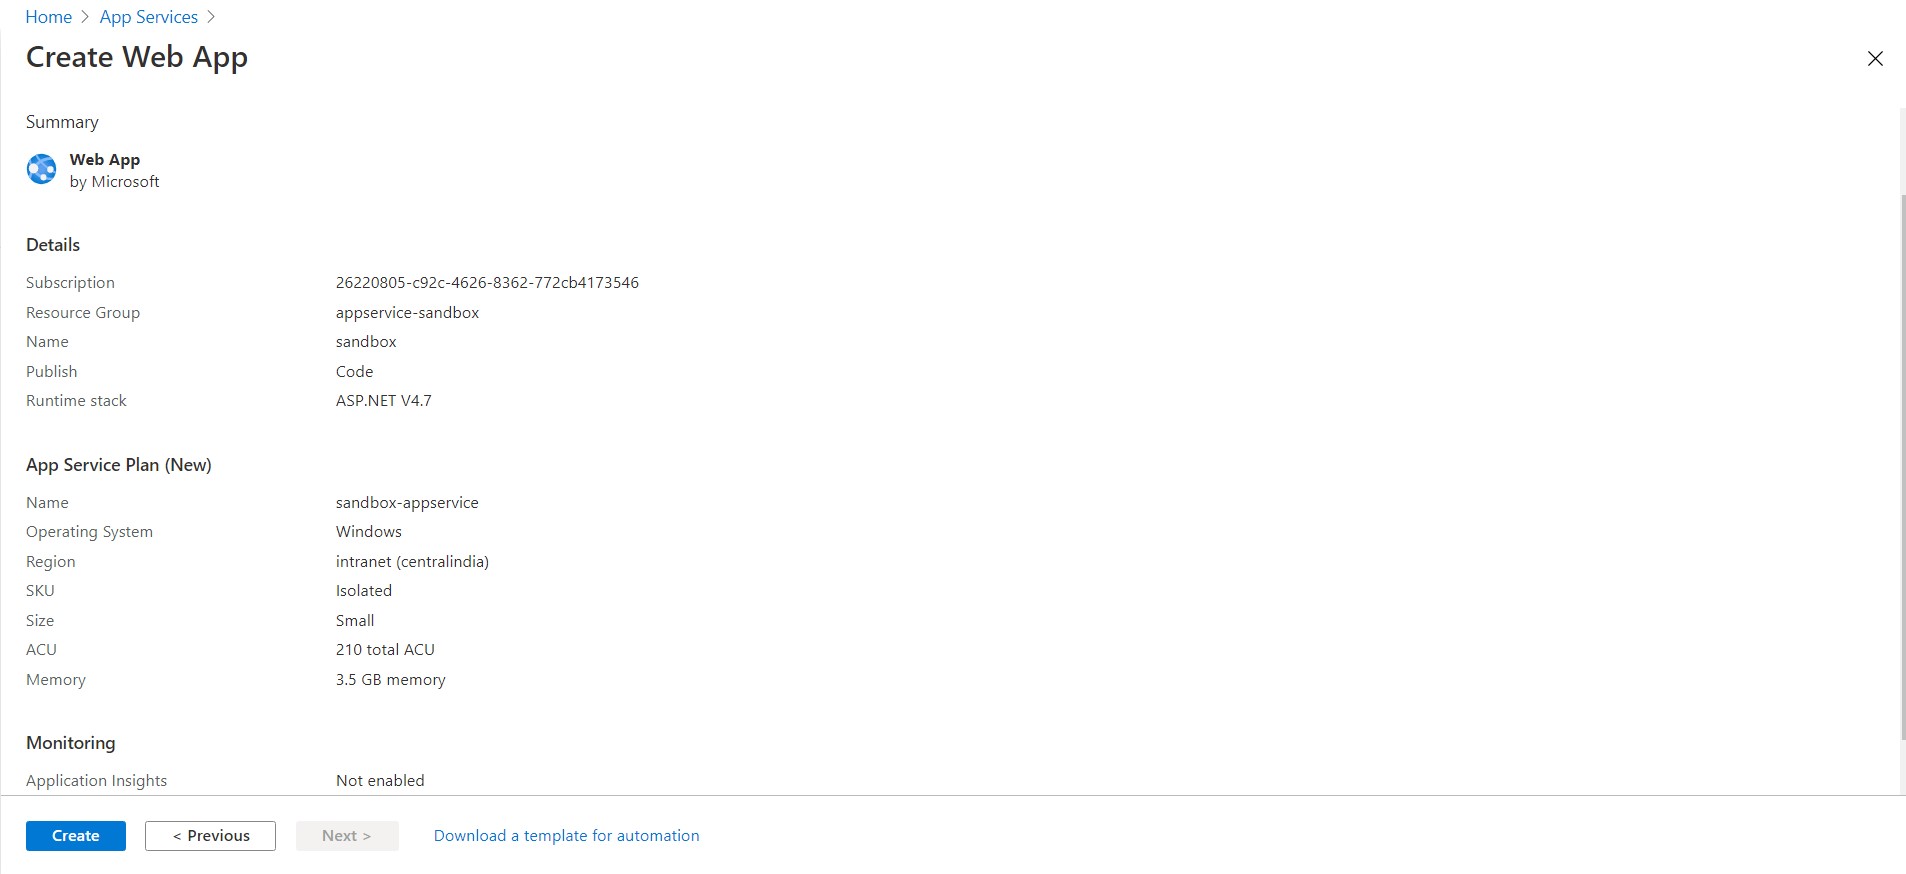
Click on Create to start the deployment, it will take good amount of time. In my case, central-india region took 19 mins, and it varies.
Once the deployment is complete, go to Dashboard and Click on Overview tab to get the URL.
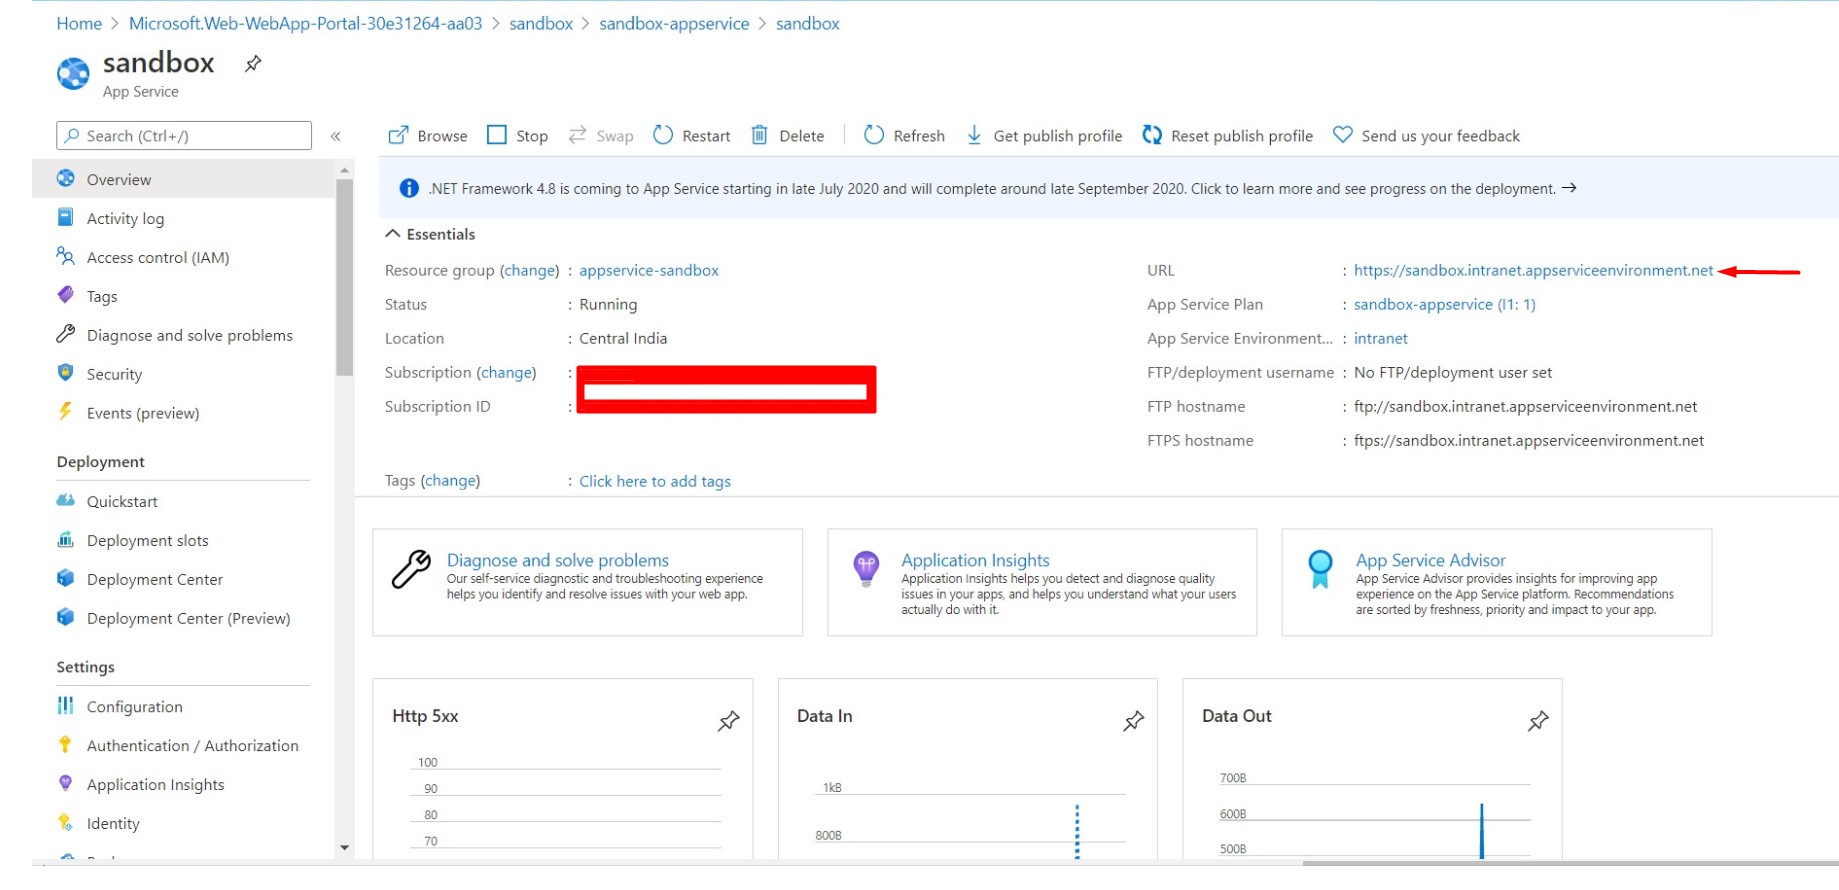
Let’s go to any virtual machine hosted in any vnet and hit the URL - http://sandbox.intranet.appserviceenvironment.net, seems not working.
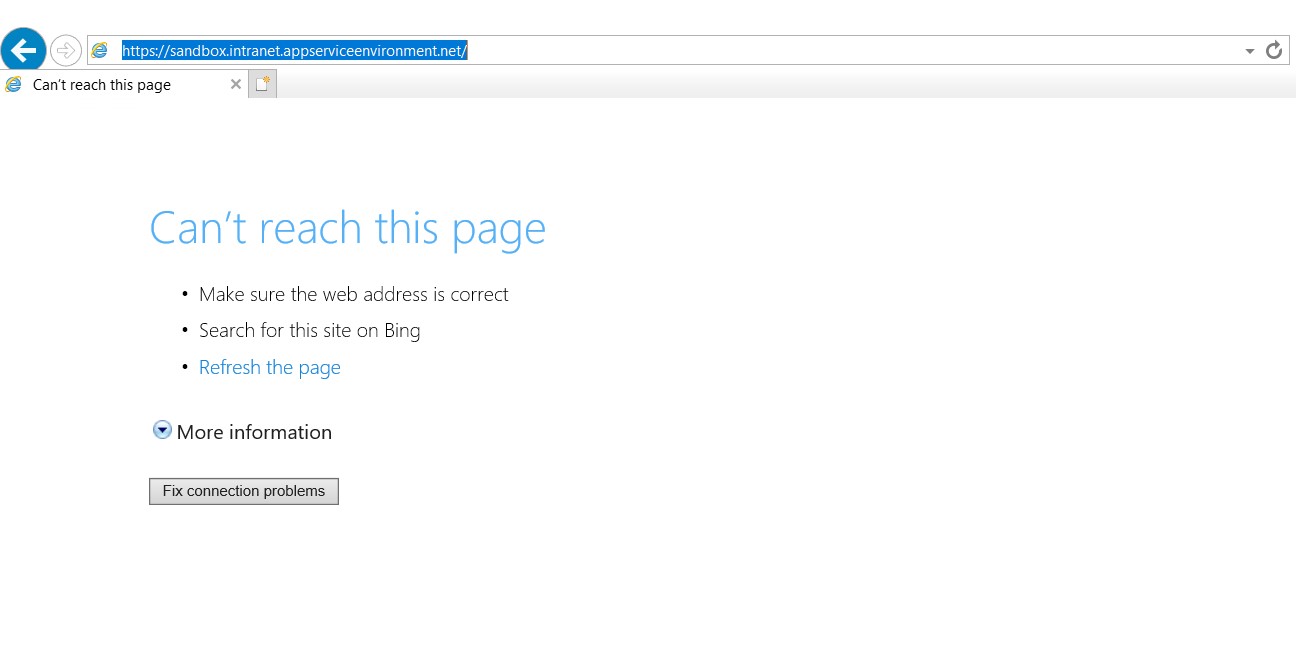
Try the same from On-premise, Hmm! it is also not working.
In the next post, we will try to resolve this DNS issue.