Hi Everyone!
In the previous post we have configured DNS, now we are able to access the website from both on-premise and azure network.
In this blog post, we are going to migrate a on-prem User Directory application to Azure. This application is build with ASP.NET and Database is in Sql Server. Since we are moving to cloud our choice is to move the web application in WebApp hosted in ASE and we will move database in Azure SQL.
Our plan is to connect Azure SQL using private endpoint and WebApp will use system assigned managed identity, and hence no credentials stored in code.
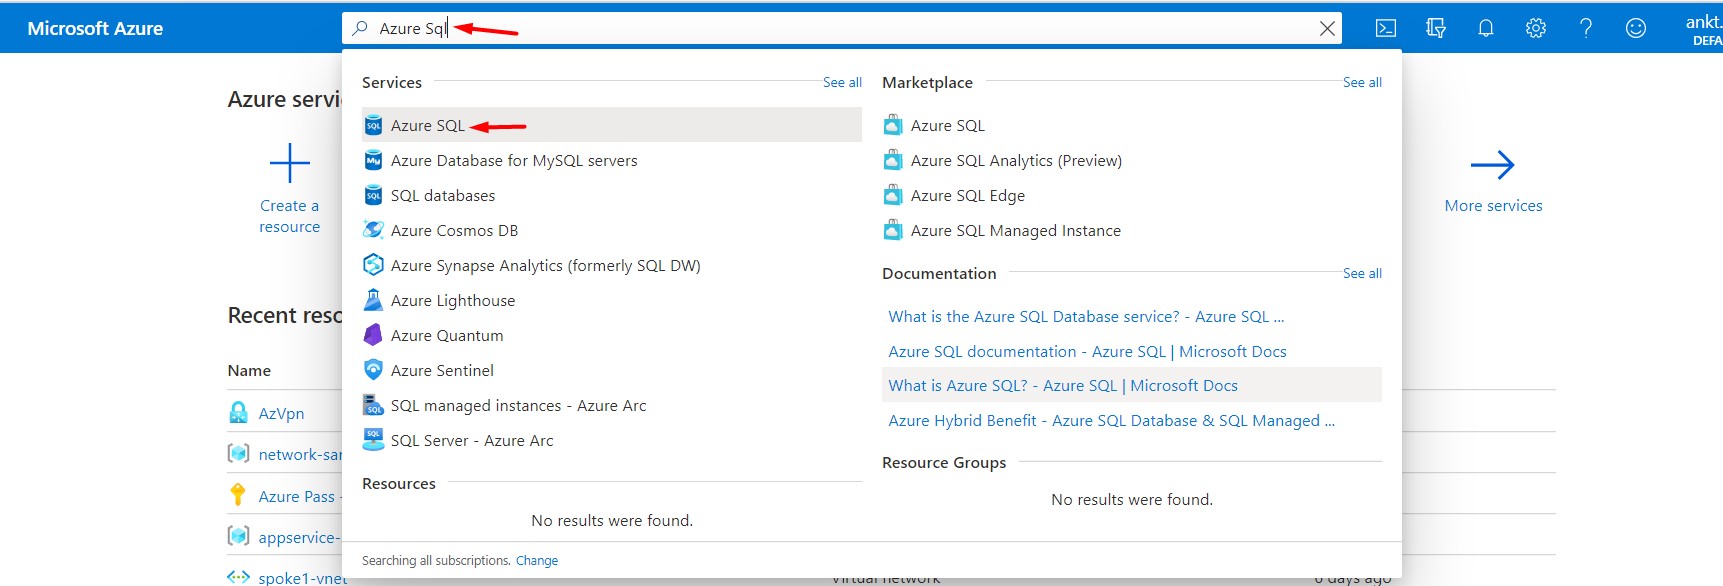
We will start by creating a Azure Sql instance with private endpoint enabled. First Step is to login into your account and on the top search bar, type Azure Sql and from the dropdown select “Azure SQL”.
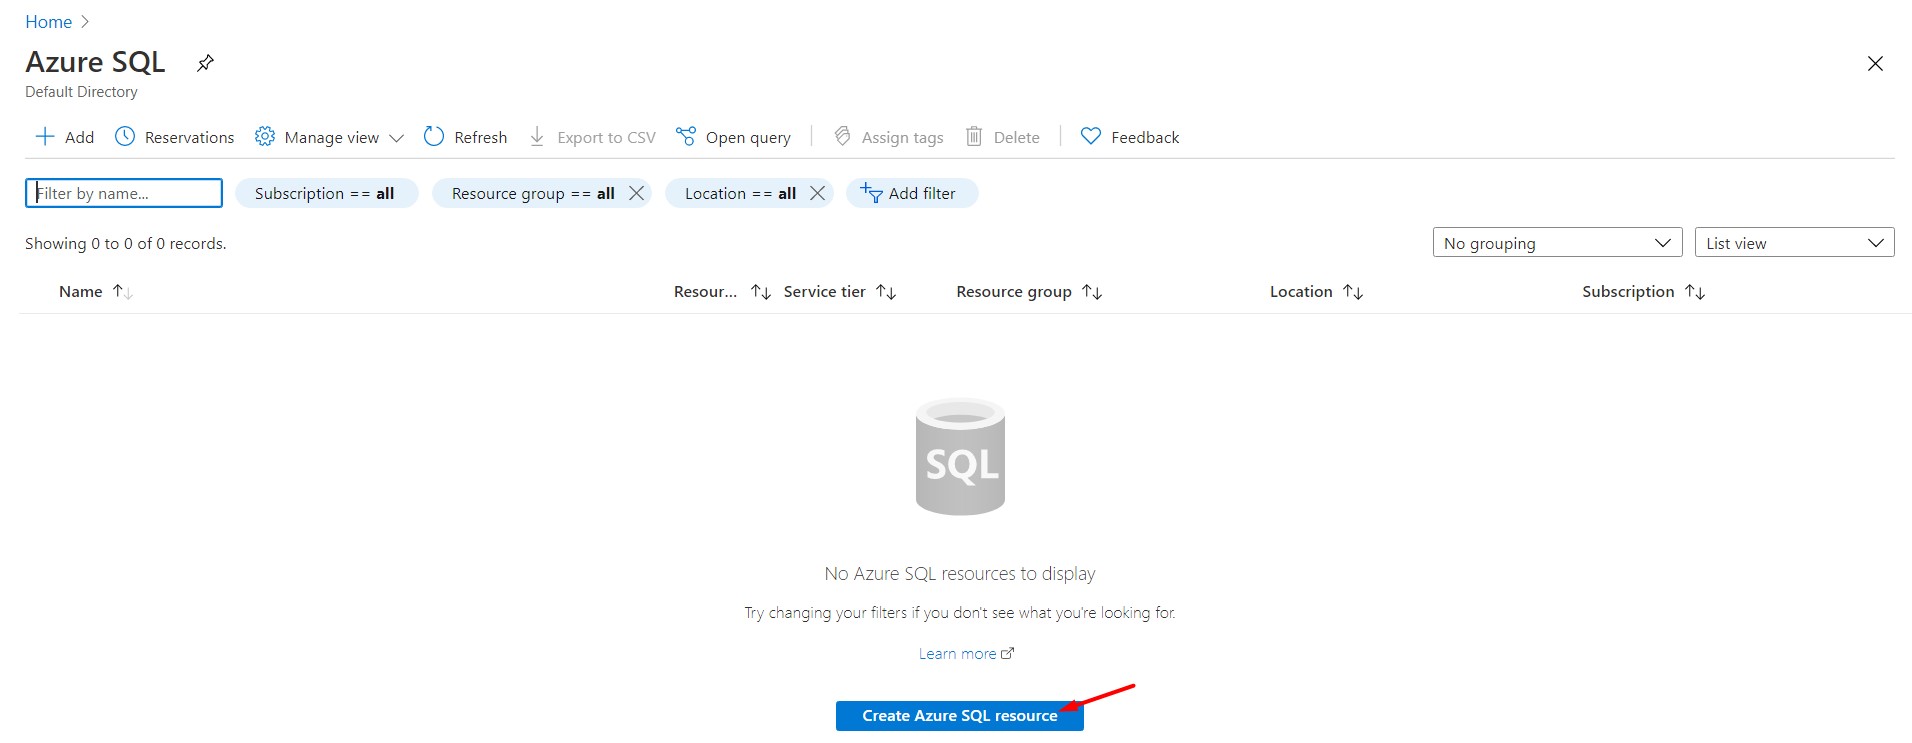
Now, click on Create Azure SQL resource
Now, select your Subscription and Resource Group and put details as below:
Resource Group : database-sandbox
Database Name : demodb
Server : cloudsandbox (create a new one)
Want to use SQL elastic pool? : No
Compute + storage : Basic
Now click on Next to configure Network. As I mentioned earlier we will go for Private Endpoint. So we need to select Private Endpoint as Connectivity method and configure it.
Now, click on Review + create to deploy the database.
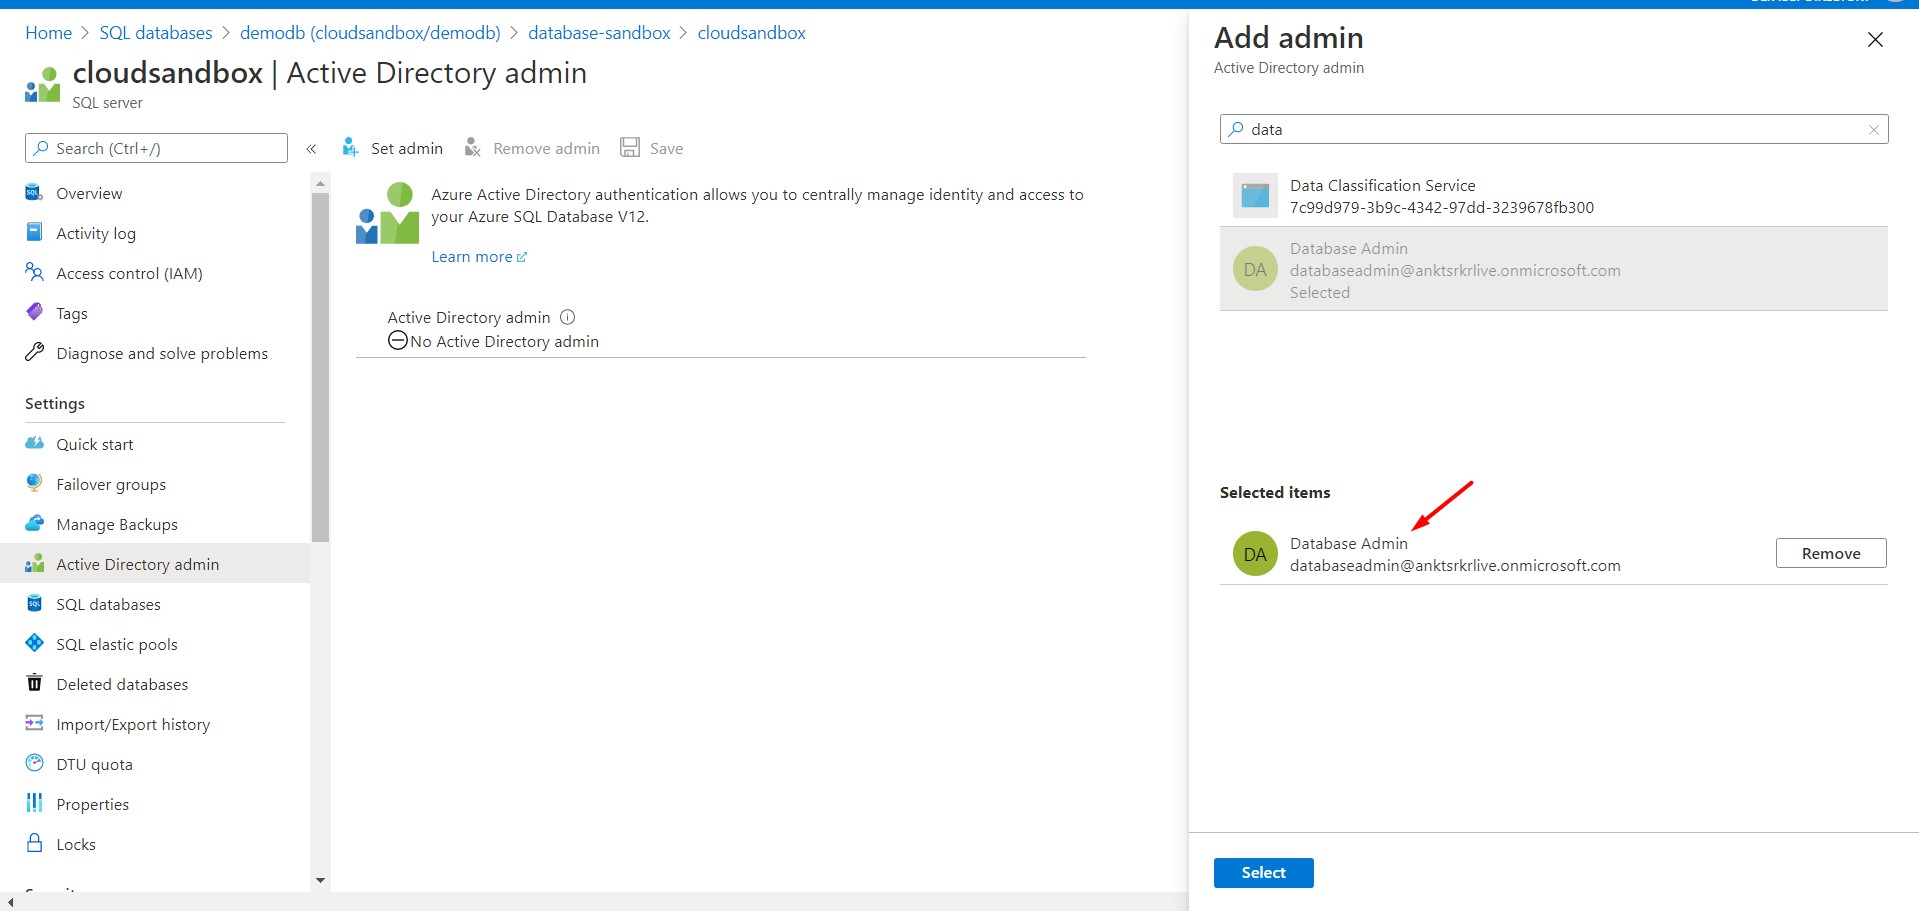
Once done, we will have to enable Active Directory Admin. For this purpose, I already created a user in azure active directory, we will assign it.
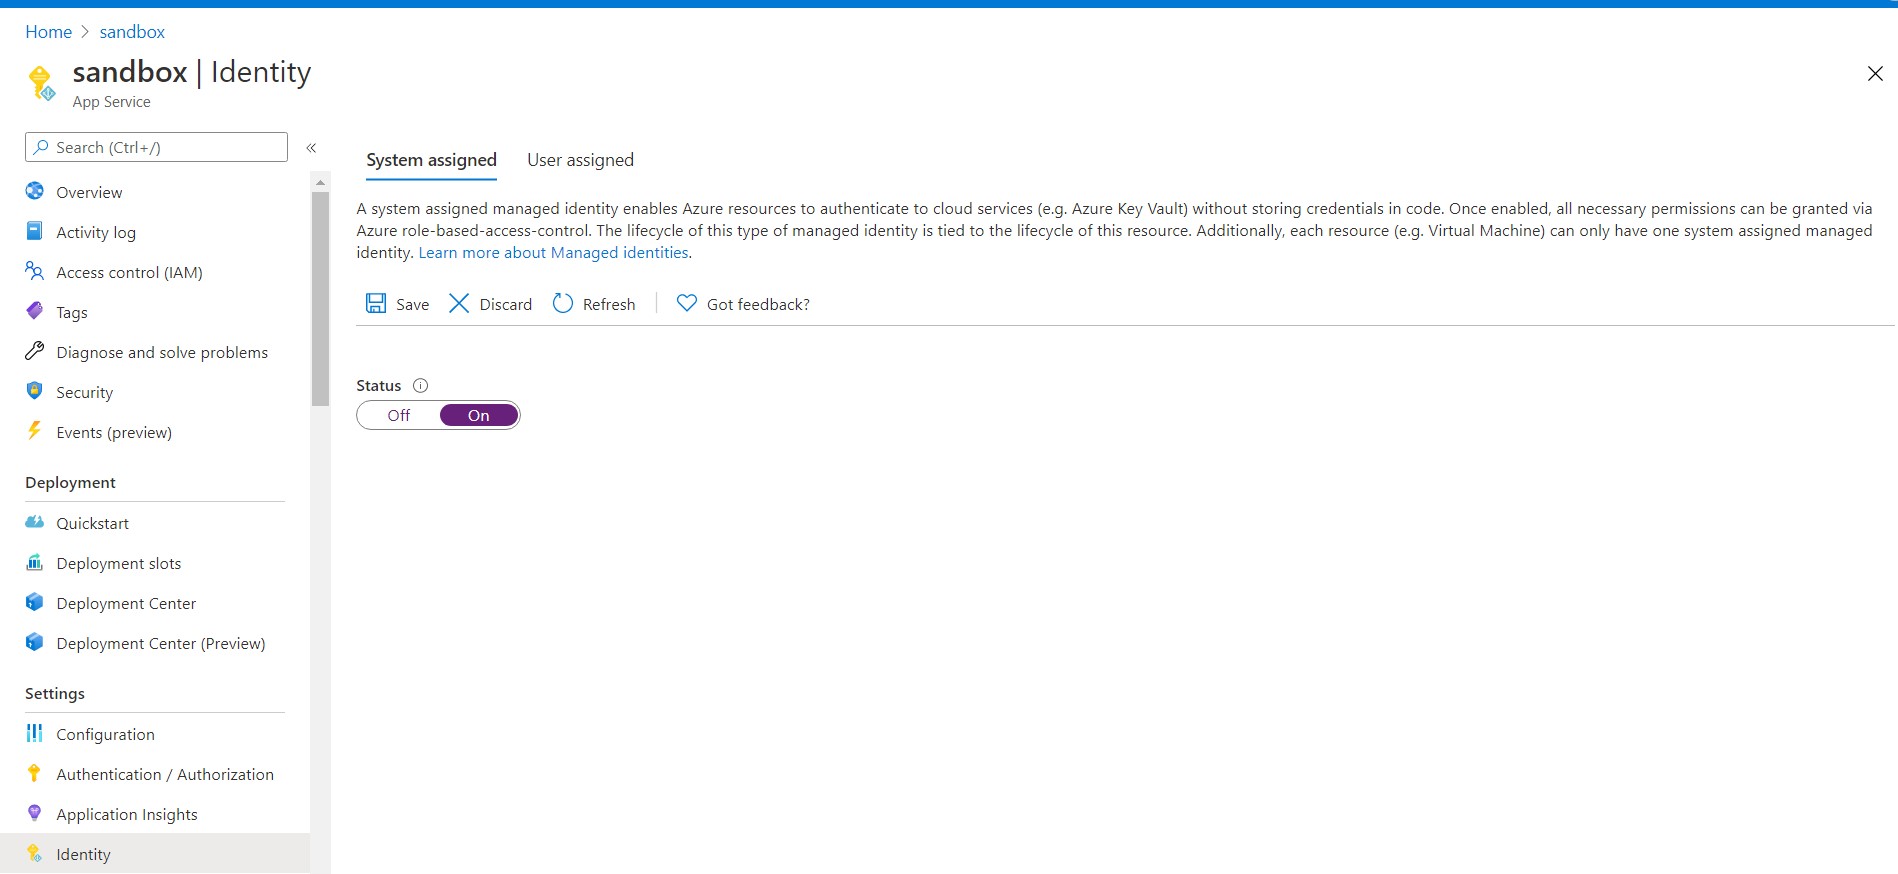
 Also, as I mentioned we will use, system assigned identity, let’s go back to App Service configuration and enable
 System Assigned identity.
 We need to go back to our code base as well because we will need to change the connection string to support active directory interactive login. Also we need add
 Microsoft.Azure.Services.AppAuthentication nuget packages
Below are changes we will do in web.config.
Add SqlAuthenticationProviders
Add SqlAuthenticationProviders tag under configuration.
<SqlAuthenticationProviders>
    <providers>
      <add name="Active Directory Interactive" type="Microsoft.Azure.Services.AppAuthentication.SqlAppAuthenticationProvider, Microsoft.Azure.Services.AppAuthentication" />
    </providers>
  </SqlAuthenticationProviders>
Change ConnectionString
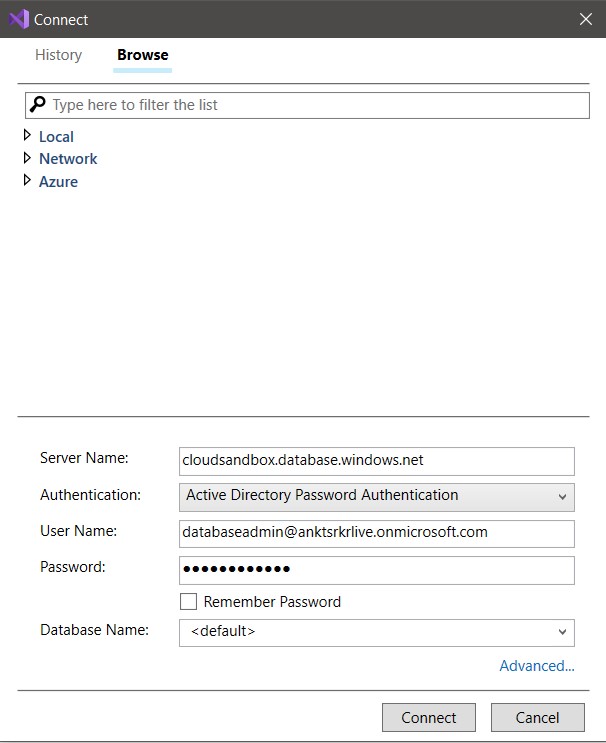
<add name="MyDbConnection" connectionString= "server=tcp:cloudsandbox.database.windows.net;database=demodb;UID=AnyString;Authentication=Active Directory Interactive" providerName="System.Data.SqlClient"/>Now, it’s time to create system assigned user which is always WebApp name in our case sandbox in Azure Sql, also we will need to give required permission db_datareader, db_datawriter, db_ddladmin.
We need to login with Active Directory Admin.
Then create the user and give permission.
CREATE USER sandbox FROM EXTERNAL PROVIDER;
ALTER ROLE db_datareader ADD MEMBER sandbox;
ALTER ROLE db_datawriter ADD MEMBER sandbox;
ALTER ROLE db_ddladmin ADD MEMBER sandbox;
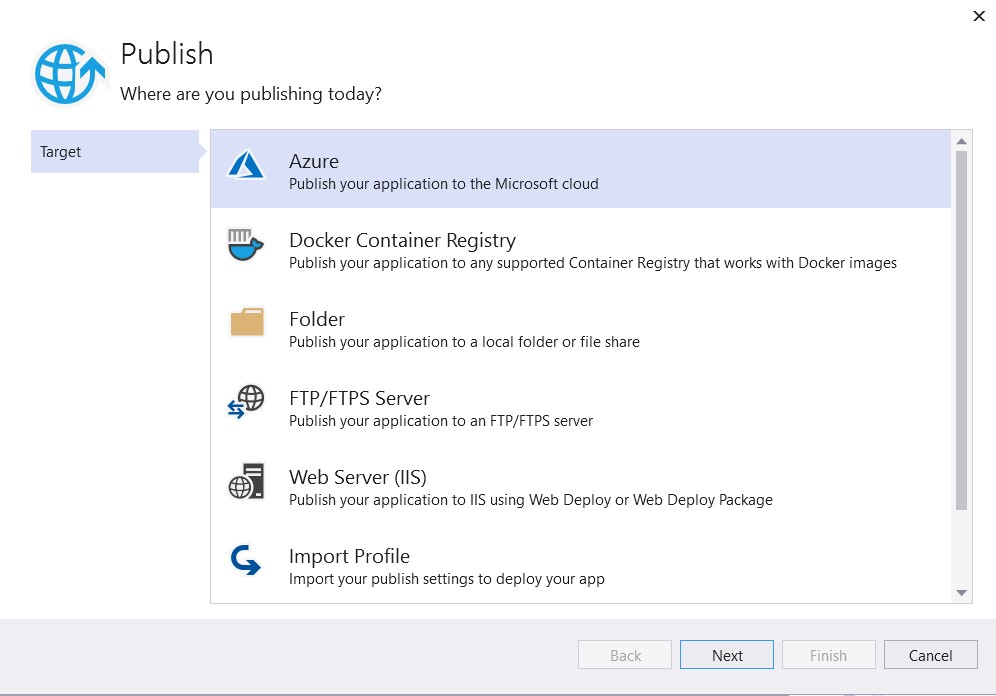
GOIt’s time to publish the WebApp using Visual Studio. To do that Right click on the solution and click on publish. A popup will come. Select Azure as Target and click on Next.
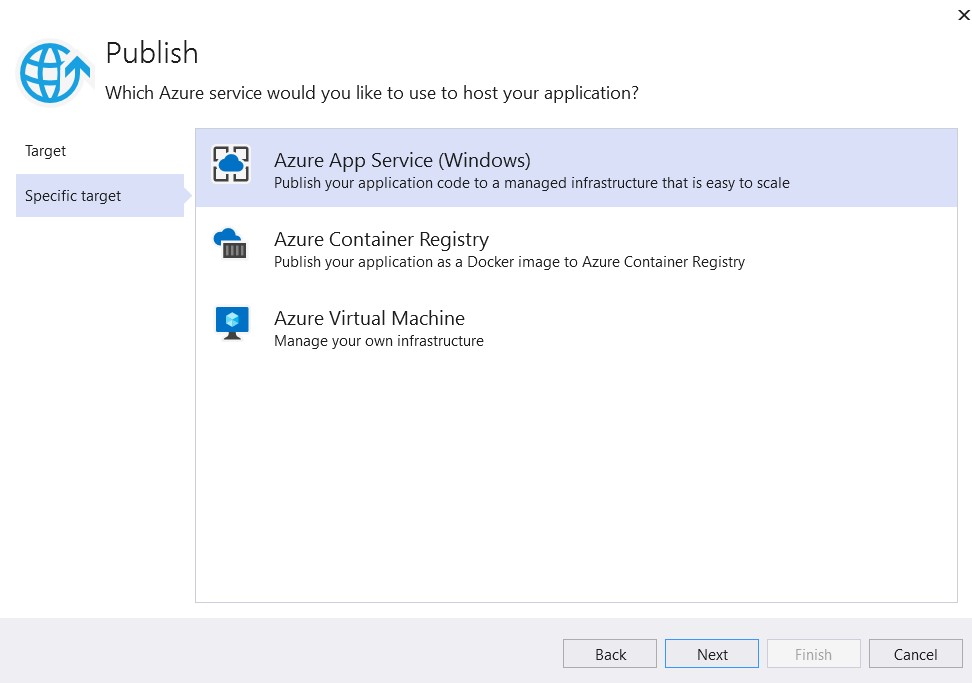
Select Specific target as Azure App Service (Windows) and and click on Next.
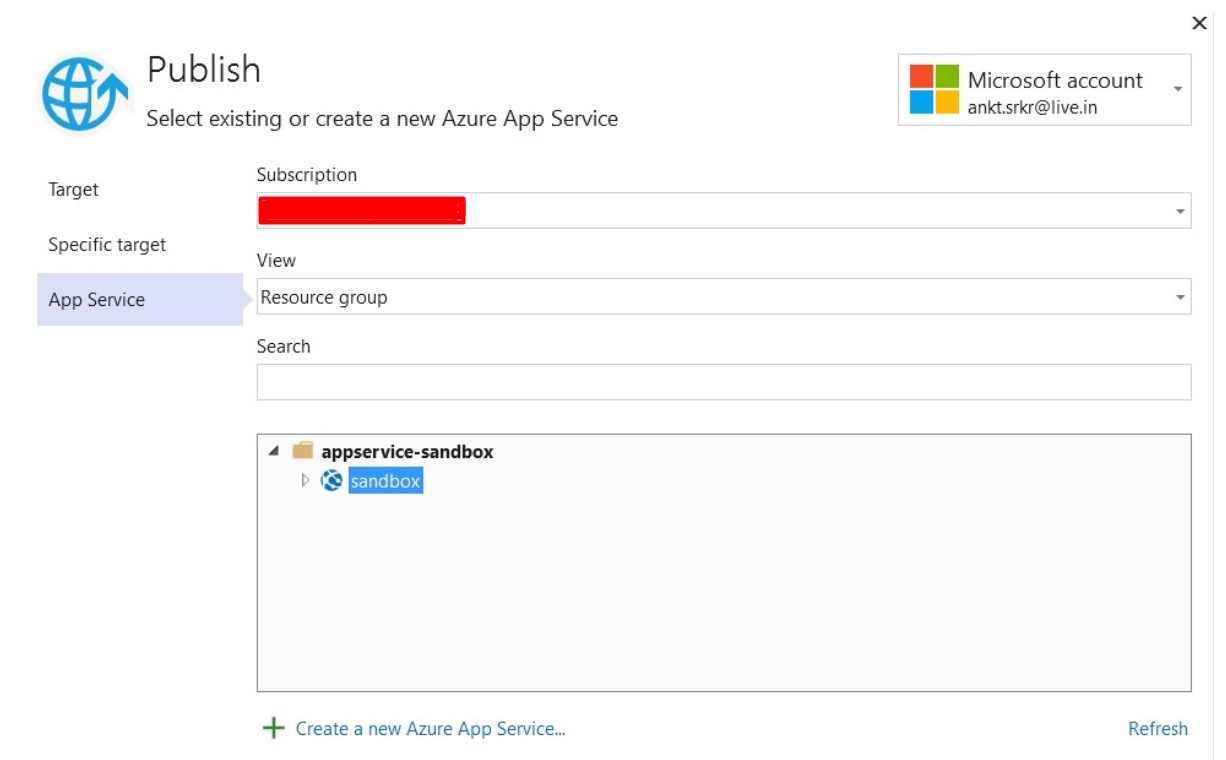
Select sandbox WebApp as App Service and and click on Finish.
Once deployed, open Postman to check if WebApp is running correctly or not by creating a user and getting it back.
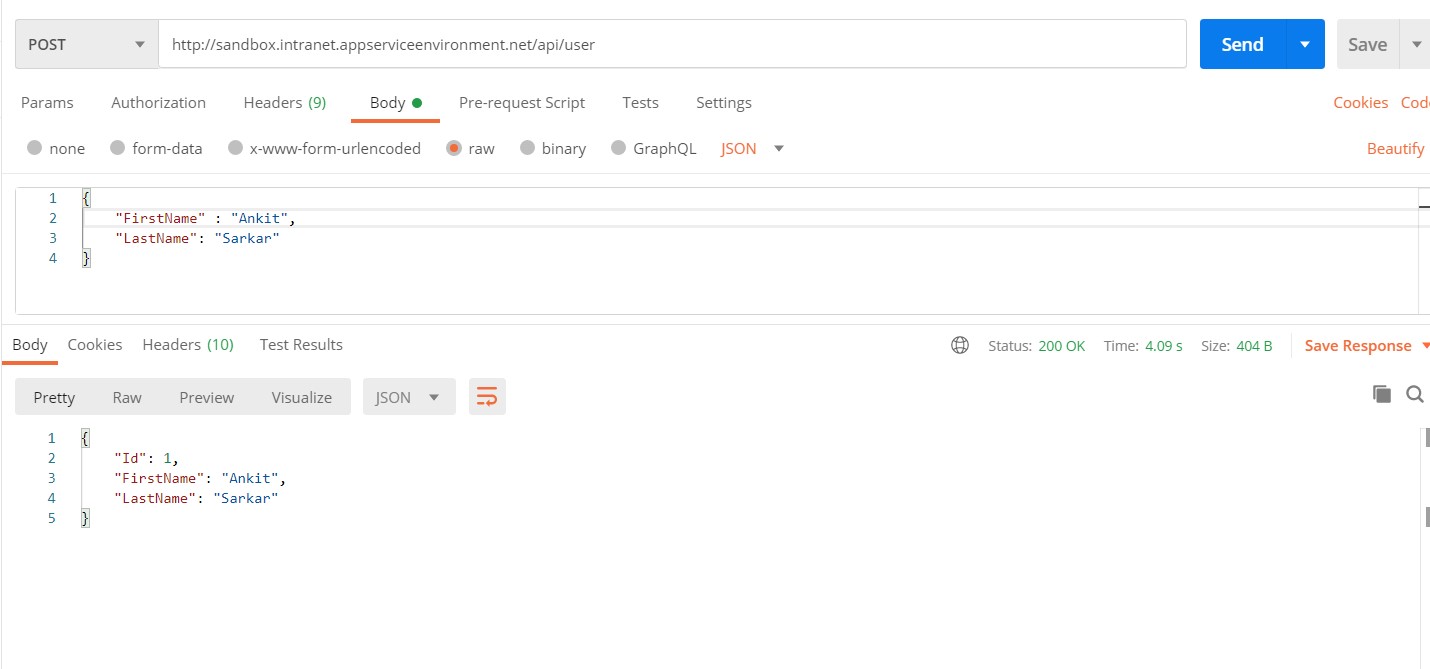

Everything is working! So, in this post we have migrated an application in App Service along with Azure Sql which is using Private Endpoint. Also App Service is not using any credentials to connect to Azure Sql instead it is using system assigned managed identity to secure the application.
However, the requirement is to run the application with custom domain over https. In the next post we will see how we can configure custom domain for this WebApp and access it.
Comments