
Getting Started with LMStudio & Semantic Kernel
Hi Everyone! This post is continuation of a series about Semantic Kernel. Over the time, I will updated this page with links to individual posts :
Getting Started with Semantic Kernel (Part 1)
Getting Started with Semantic Kernel (Part 2)
Building Blocks of Semantic Kernel
Getting Started with Foundry Local & Semantic Kernel
Getting Started with Ollama & Semantic Kernel
This Post - Getting Started with LMStudio & Semantic Kernel
So far, we have seen how to use Semantic Kernel with Ollama and Foundry Local. In this post, we will see how to use Semantic Kernel with LM Studio.
What is LM Studio?
LM Studio is a desktop application that is designed to run LLM on your own hardware. It supports both GPU & CPU. It is based on llama.cpp.
LM Studio supports GGUF and MLX formats. MLX is a new Machine Learning framework from Apple. MLX is efficient and blazing fast on M1/M2/M3/M4 Macs. LM Studio leverages MLX to run LLMs on Apple silicon, utilizing the full power of the Mac’s Unified Memory, CPU, and GPU.
Please note that, LM Studio GUI app is not open source. However LM Studio‘s CLI, Core SDK, and MLX inferencing engine are all MIT licensed and open source.
LM Studio maintains a catalog of models that are optimized and customized for the application. However, you can use any GGUF models from Hugging Face.
LM Studio is available for Windows, Linux and MacOS. We will be using Windows for this post.
Installing LM Studio
You can install LM Studio, using the installer from the official website.
You also need to make sure you have Nvidia container toolkit installed.
You can download the installer from official website LM Studio. Based on your OS, you can download the installer. Once downloaded, run the installer and follow the instructions to install LM Studio.
Run your first model
Once you launch the application, you will see the main window of LM Studio. Go to Discover tab and search for the model you want to run. For this post, we will be using Gemma 3 4B QAT model.
We will not be using the GUI for this post, but you can use it for exploring the models and their capabilities.
To expose OpenAI compatible API, swich to Power User mode and Start the server. You can also tweak the settings as per your requirements but make sure Just-in-Time Model Loading is enabled. When this is enabled, if a request specified a model that is not loaded, it will be automatically loaded and used.
This will expose OpenAI API compatible endpoint on http://localhost:11435. You can use this endpoint from your semantic kernel application.
Setup Semantic Kernel
We will create a new minimal api project using your favorite IDE. I will be using Visual Studio.
- Open Visual Studio and create a new project.
- Select “ASP.NET Core Web API” template.
- Configure the project name and location.
- Click “Create” to generate the project.
It could be a console application as well, but I prefer to use minimal api as we will be using it from out chat application.
Add Nuget Packages
First, we need to install following nuget packages:
1
2
3
4
5
6
7
8
9
10
11
12
<Project Sdk="Microsoft.NET.Sdk.Web">
  <PropertyGroup>
    <TargetFramework>net9.0</TargetFramework>
    <Nullable>enable</Nullable>
    <ImplicitUsings>enable</ImplicitUsings>
  </PropertyGroup>
  <ItemGroup>
    <PackageReference Include="Microsoft.AspNetCore.OpenApi" Version="9.0.5" />
    <PackageReference Include="Microsoft.SemanticKernel.Connectors.OpenAI" Version="1.54.0" />
    <PackageReference Include="Microsoft.SemanticKernel.PromptTemplates.Liquid" Version="1.54.0" />
  </ItemGroup>
</Project>
Add Connector and Kernel
Next step is to add the OpenAI connector and Kernel to the ServiceCollection in Program.cs file. You can use the following code to do that:
1 |
|
Add Chat Summarization Endpoint
In the previous post, we have seen how to add chat completion endpoint using Semantic Kernel and Ollama. Now we will extend the same to add chat summarization endpoint using LM Studio.
So as next step we need to add the chat summarization endpoint to the Program.cs file. You can use the following code to do that:
1 |
|
Let’s break down the code:
- We are using
MapPostto create a new endpoint/api/summerizethat will handle chat requests. - Defining a template for the chat summarization prompt using Liquid syntax. This template includes instructions for summarizing the context and generating a concise summary.
- We are using
ChatHistoryto get the chat history based on the session ID provided in the request. If the session ID does not exist, we create a newChatHistoryinstance. - We are using
LiquidPromptTemplateFactoryto create a prompt template from the defined template. - We are Sanitizing the last assistant message in the chat history to remove any
<think>tags and keep the content clean. - We are using
KernelArgumentsto pass the inputs to the prompt template, including the word count, target audience, and text to summarize. - We are using
GetChatMessageContentAsyncto get the chat message content from the LLM based on the rendered prompt. - Finally, we return the content of the chat update as the response.
Let’s see it in action.
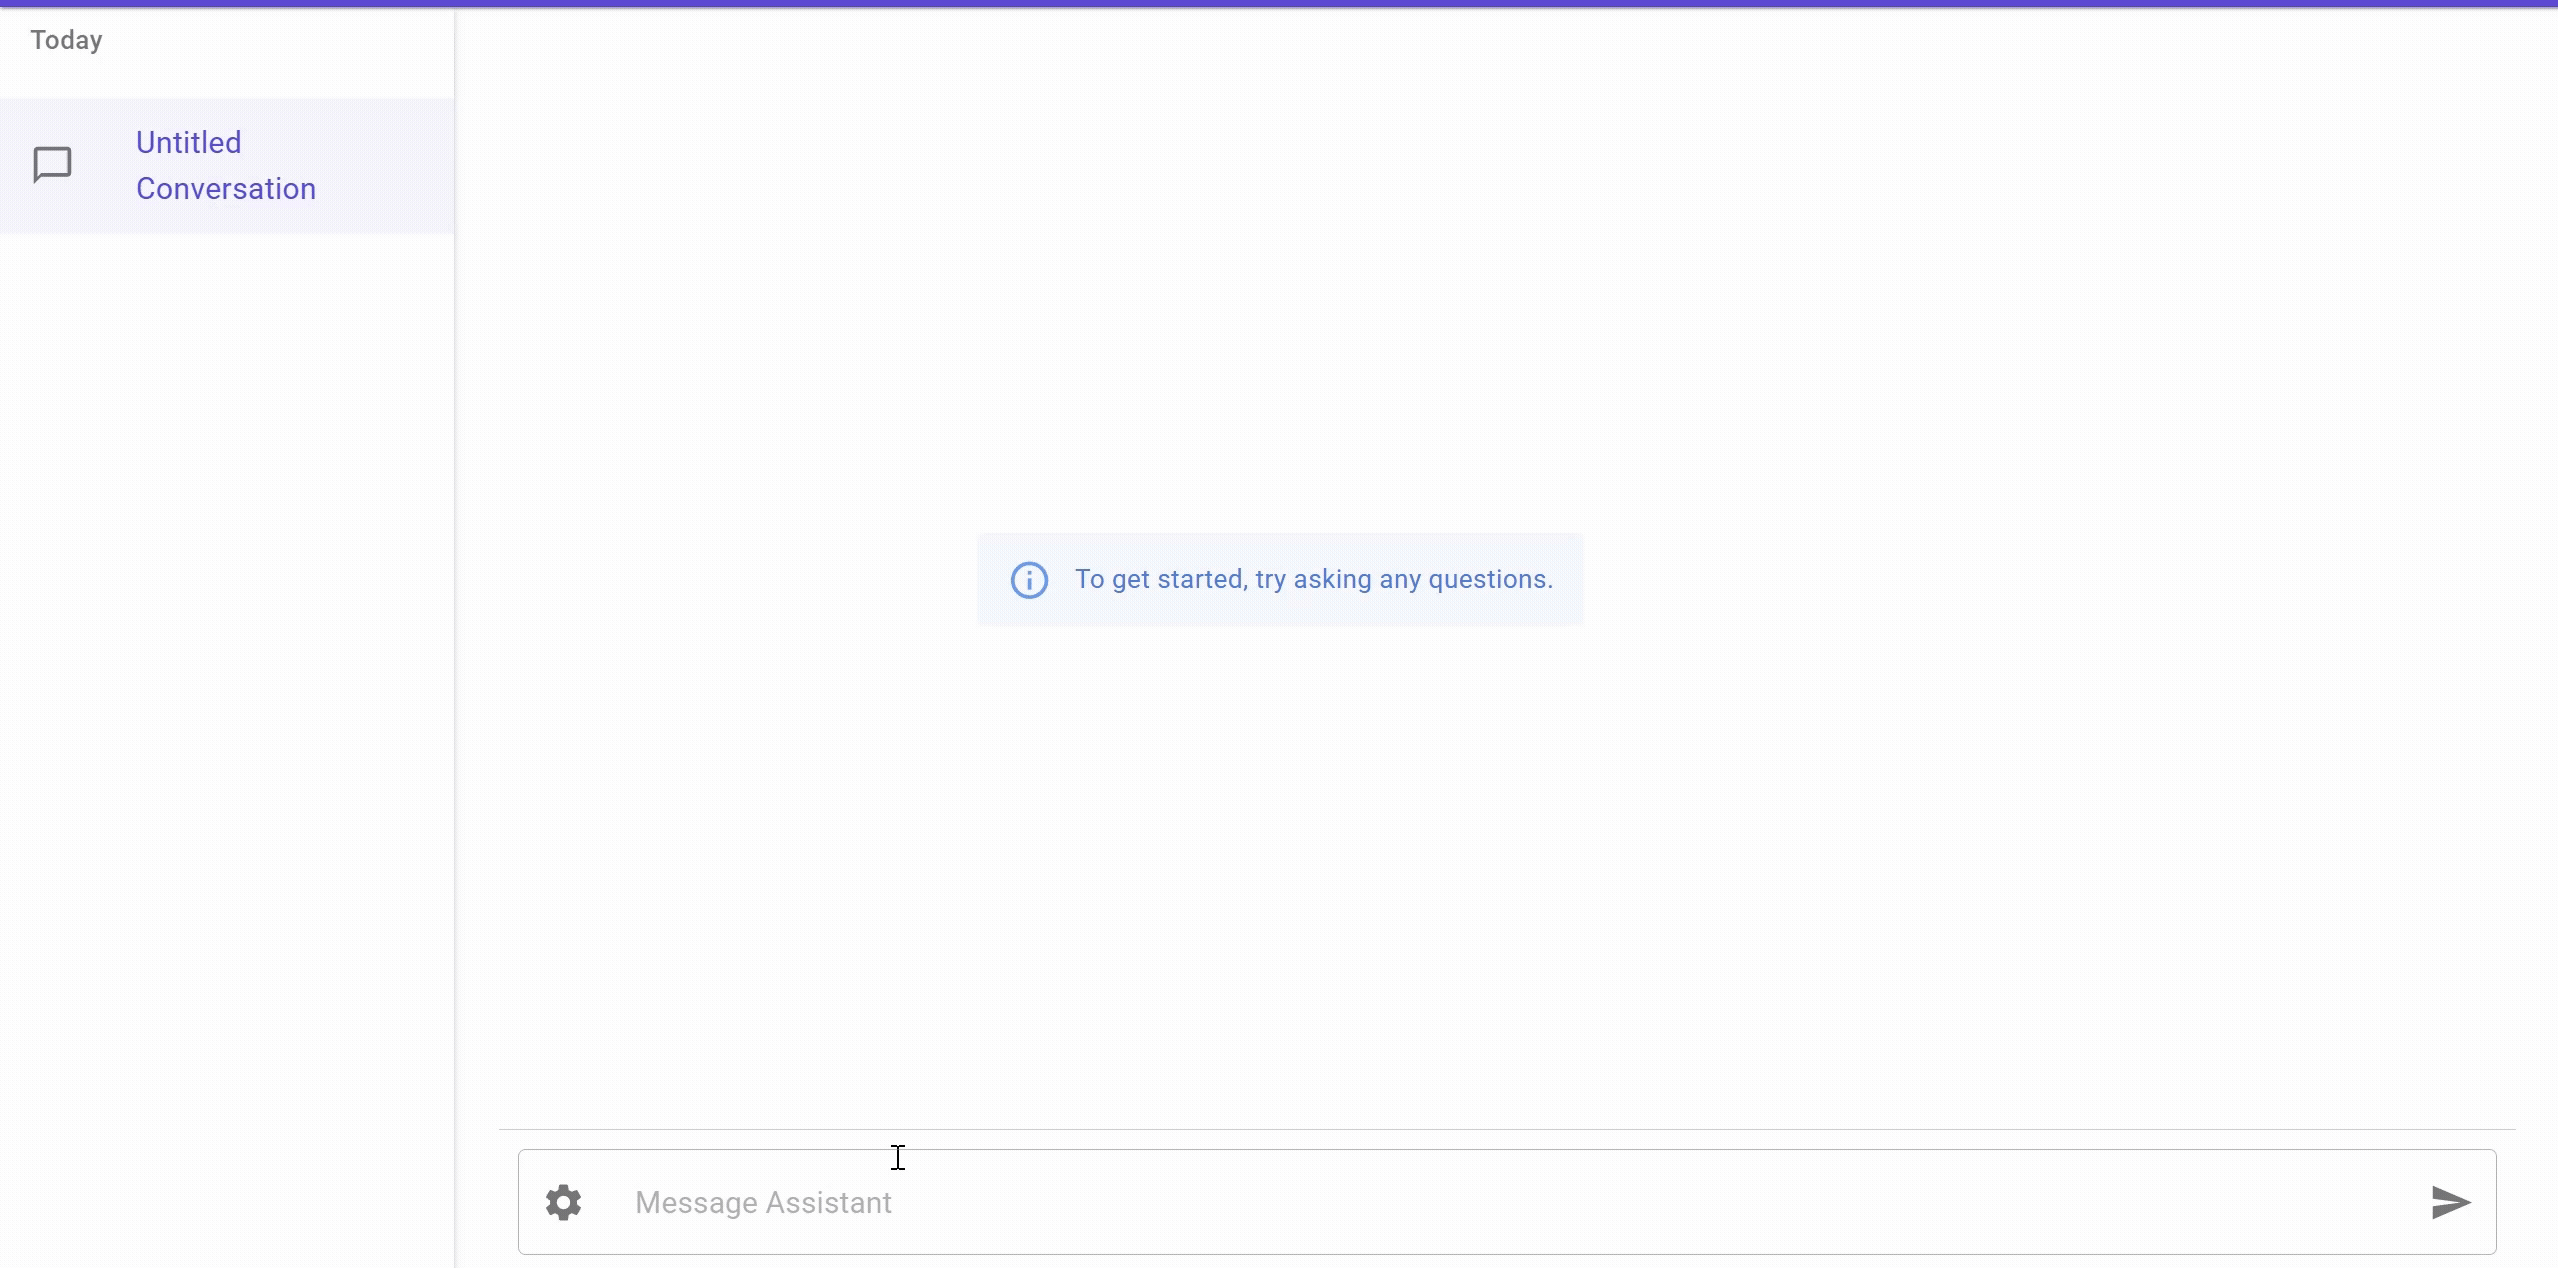
The UI is a chat application built using Blazor which supports thinking step as well, will explain it in detail in some future post. For now, you can see that we are able to get the summary from the LLM using LM Studio and Semantic Kernel.
Outro
In this post, we have discussed how to use LM Studio with Semantic Kernel. We have seen how to install LM Studio, run a model, and use it with Semantic Kernel.
Will I be using LM Studio in my future posts? For Chat completion, we will be using LM Studio as streaming is supported with function call in LM Studio. However we will not be using LM Studio for Text embedding and probably will be using Ollama as soon as streaming with function call is supported.
Next post onwards, we will be shifting our focus on more enterprise use cases of Semantic Kernel. Such as Agent creation, Prompt engineering, Process building, and more.
