On this page
Hi Everyone!
Before going into deep details about App Service Environment (v2), we will first look into what is it, when to use it and what are different type of ASE exists in Microsoft Azure. Please note, I am not reinventing the wheel, so many of use cases and definitions are actually taken from Microsoft Docs and I have given the link reference where needed 😊. A lot of things to cover, let’s get started.
What is App Service Environment?
The Azure App Service Environment is an Azure App Service feature that provides a fully isolated and dedicated environment for securely running App Service apps at high scale. This capability can host your:
- Windows web apps
- Linux web apps
- Docker containers
- Mobile apps
- Functions
When to use App Service Environment?
App Service Environment is appropriate for application workloads that require:
- Very high scale.
- Isolation and secure network access.
- High memory utilization.
The ASE is dedicated exclusively to a single subscription and can host 100 App Service Plan instances. The range can span 100 instances in a single App Service plan to 100 single-instance App Service plans, and everything in between.1
An ASE is composed of front ends and workers. Front ends are responsible for HTTP/HTTPS termination and automatic load balancing of app requests within an ASE. Front ends are automatically added as the App Service plans in the ASE are scaled out.
Workers are roles that host your apps. Workers are available in three fixed sizes:
- 1 vCPU/3.5 GB RAM
- 2 vCPU/7 GB RAM
- 4 vCPU/14 GB RAM
You don’t need to manage front ends and workers. All infrastructure is automatically added as you scale out your App Service plans. As App Service plans are created or scaled in an ASE, the required infrastructure is added or removed as appropriate.
An ASE always exists in a virtual network, and more precisely, within a subnet of a virtual network. You can use the security features of virtual networks to control inbound and outbound network communications for your apps, e.g Network Security Groups restrict inbound network communications to the subnet where an ASE resides.
If your apps need to access corporate resources such as internal databases and web services and if you deploy the ASE in a virtual network that has a VPN connection (regardless of whether the VPN is a site-to-site or Azure ExpressRoute VPN) to the on-premises network, the apps in the ASE can access the on-premises resources.
Types of ASE
There are two types of ASE provided by Microsoft Azure :
- External — This is internet-facing with a public IP address
- Internal — This is intranet-facing with only an Azure internal load balancer (ILB) address
In this series, we will only focus on Internal ASE. We will deploy internal ASE using Azure Portal but you can use ARM Template, Azure Cli. At the time of writing this post, I guess there are some restrictions with CLI you can not select VNET while creating an ASE. So, choose to go with Azure Portal for this entire series.
Something to note here, I will assume you already have Hub-Spoke network topology in place and connection is already established with your on-premise over VPN. I will also assume, you do not have any on-premise DNS server and you have a DNS Forwarder setup in hub-vnet. If you are not sure about all of this I will suggest to go though my previous posts.
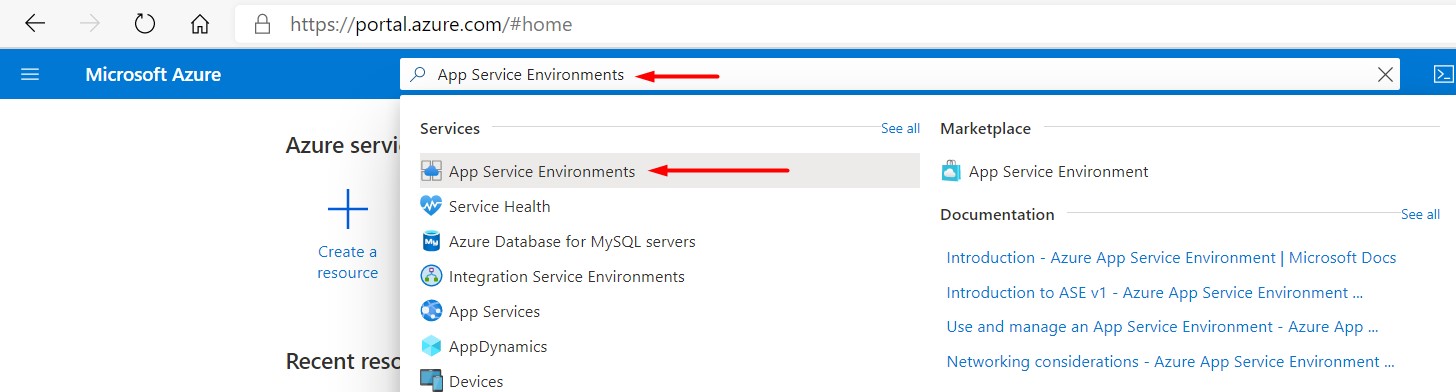
First Step is to login into your account and on the top search bar, type App Service Environments and from the dropdown select “App Service Environments”.
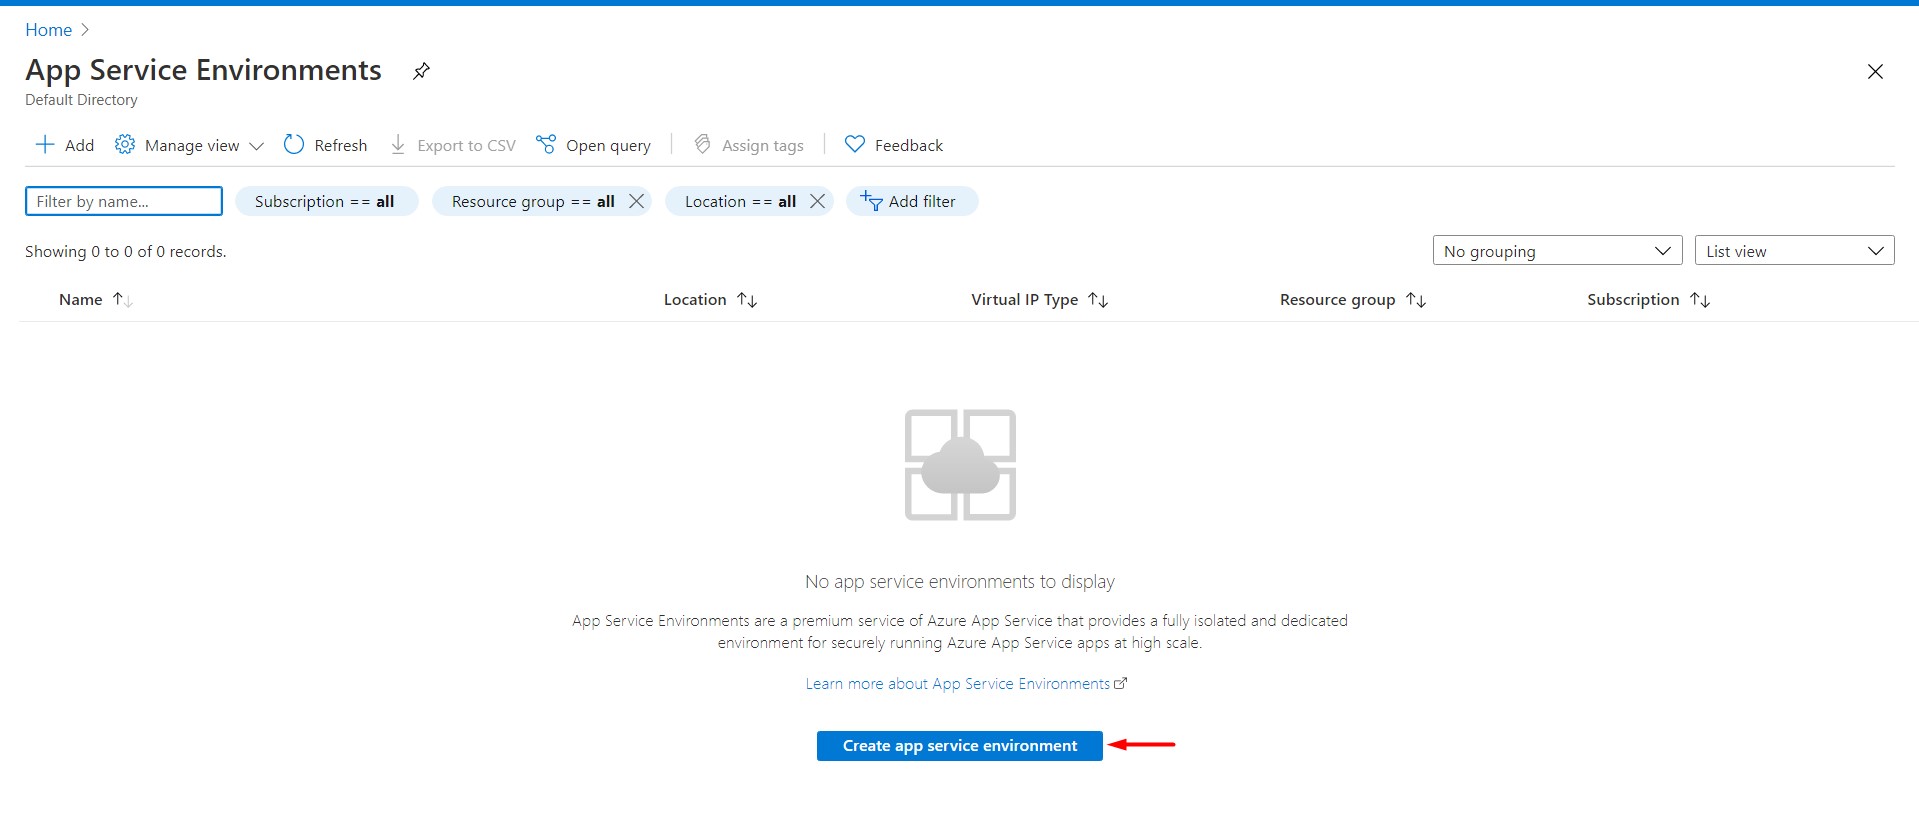
Now, click on Create app service environment
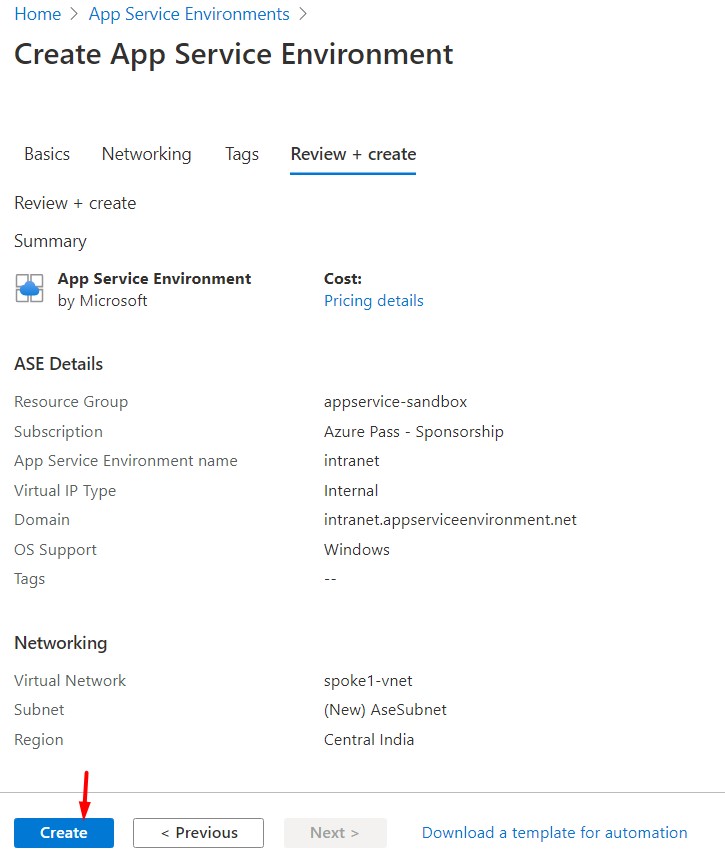
Now, select your Subscription and Resource Group and put details as below:
Resource Group : appservice-sandbox
App Service Environment Name : intranet
Virtual IP : Internal
OS Support : Windows
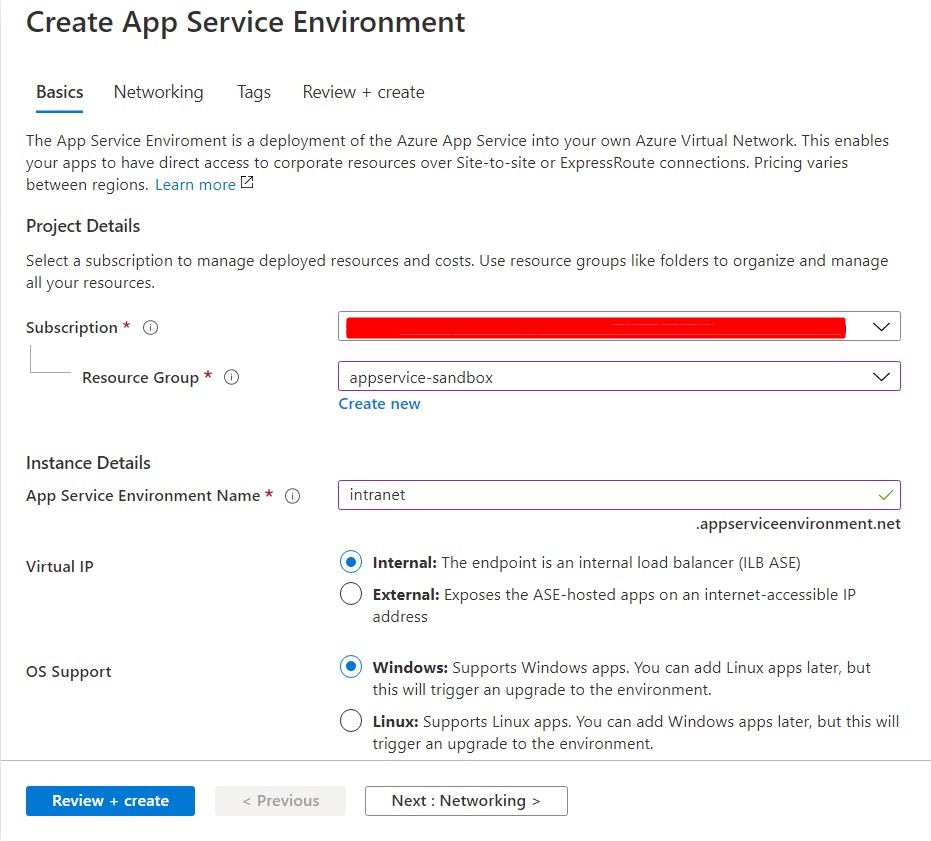 Something to note, though we are selecting Windows as OS support but you can add Linux apps later, but this will trigger an upgrade to the environment and will take time.
Click on Next to configure vnet for your ASE.
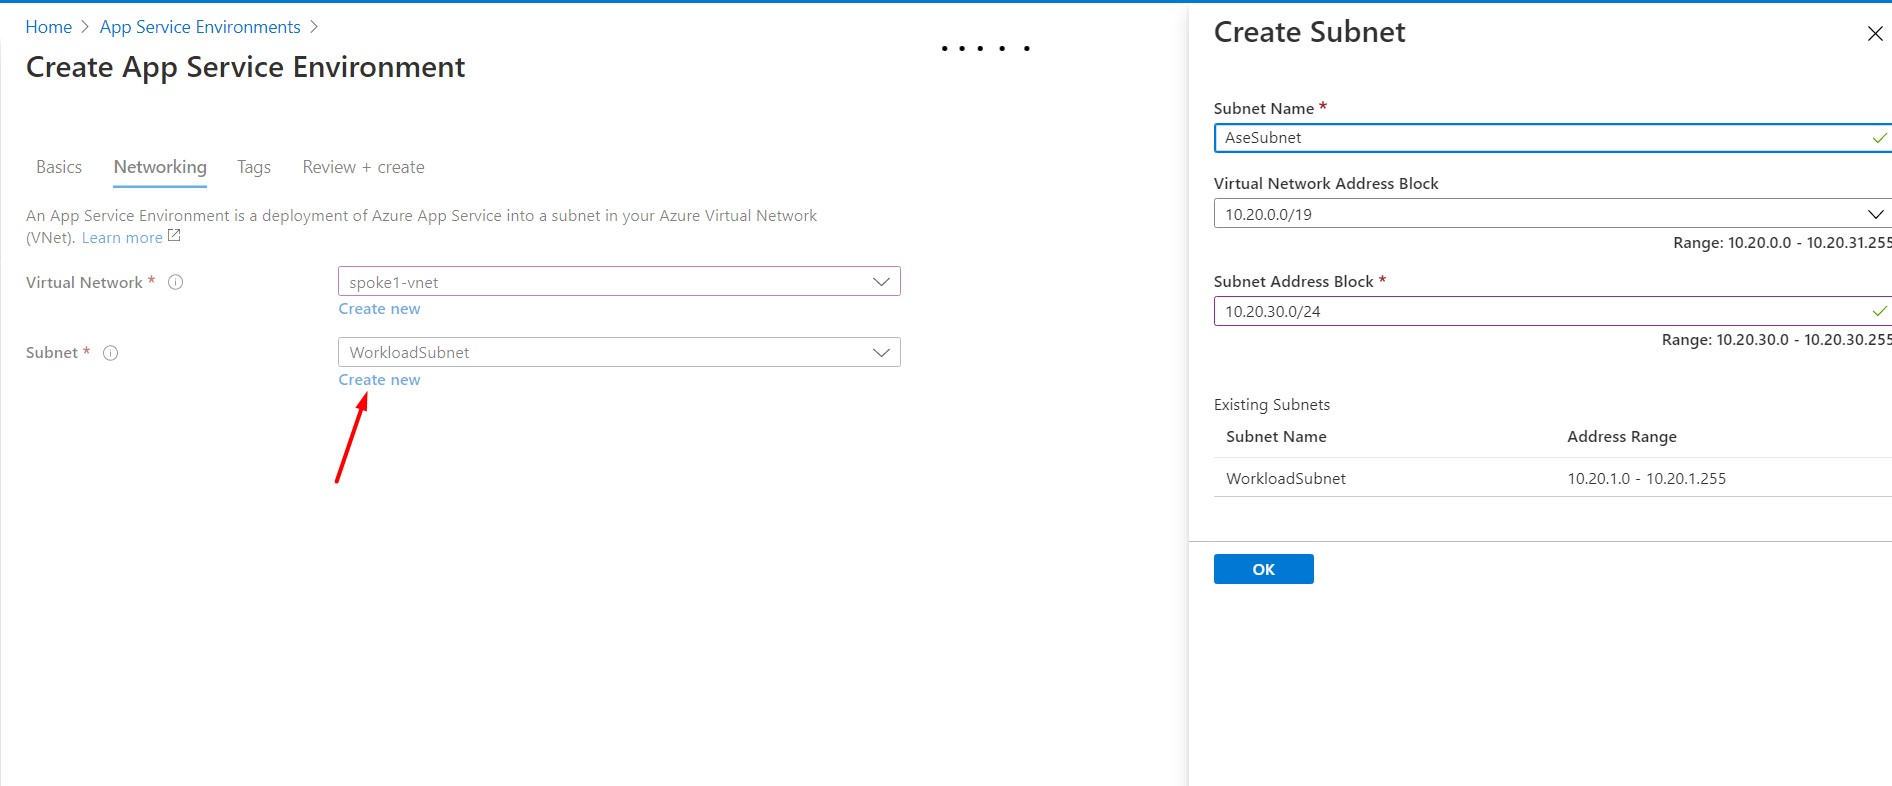
ASE needs a dedicated Subnet and you can not change it later once ASE is deployed. So we need to choose it wisely. ILB ASE with no App Service plans at all will use 13 addresses (In case of External ASE, it is 12) before you create an app. When you scale up or down, new roles of the appropriate size are added and then your workloads are migrated from the current size to the target size. The original VMs removed only after the workloads have been migrated. If you had an ASE with 100 ASP instances, there would be a period where you need double the number of VMs. It is for this reason that it is recommend the use of a
/24to accommodate any changes you might require.2
Our plan is to deploy ASE in spoke1-vnet. As, ASE required dedicated subnet, let’s create it with below details:
Subnet Name : AseSubnet
Virtual Network Address Block : 10.20.0.0/19
Subnet Address Block : 10.20.30.0/24
Now, click on Review + create. Overview of ASE should look like as below screenshot:
Click on Create to start the deployment, it will take good amount of time. In my case, central-india region took 1hr 49mins, and it varies.
Once the deployment is complete, click on ASE Health, everything should show as green-tick as below, if not I will suggest to check the details why it failed.
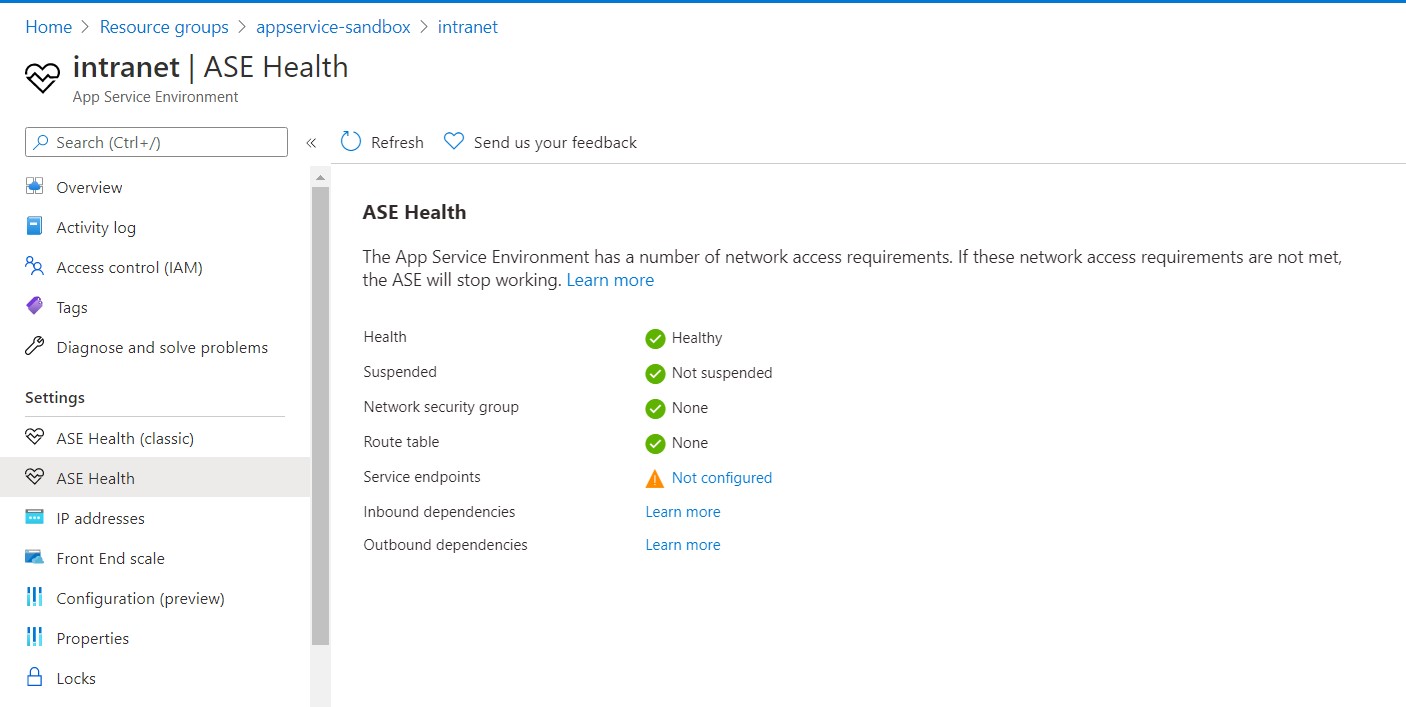 Okay, everything looks good here. let’s click on Properties
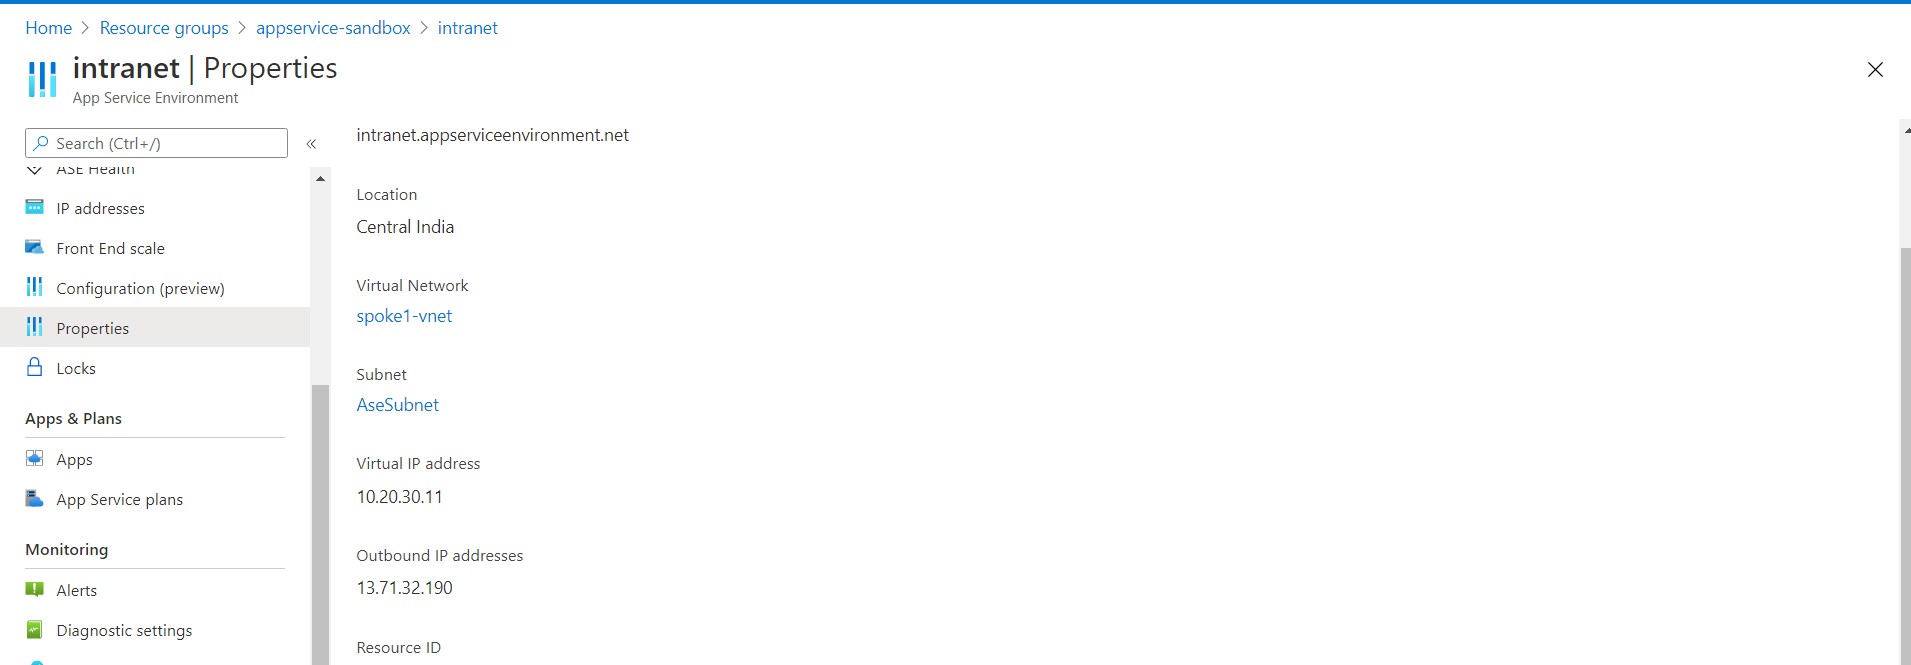 Here we can see two VIPs, one is Public VIP and another is Private. Let’s see what are the use cases of these VIPs.
Public VIP — It is used for inbound management traffic and as the from address when making calls from the ASE to the internet. The calls from an ASE that go to the internet leave the VNet through the VIP assigned for the ASE. The public IP of this VIP is the source IP for all calls from the ASE that go to the internet.
Private VIP — If the apps in your ASE make calls to resources in your VNet or across a VPN, the source IP is one of the IPs in the subnet used by your ASE. Because the ASE is within the VNet, it can also access resources within the VNet without any additional configuration. If the VNet is connected to your on-premises network, apps in your ASE also have access to resources there without additional configuration.
Okay, now we have the ASE ready, in my next post we will deploy a sample Web App in this environment.
Comments