On this page
Hi Everyone!
What we are going to build?
In this series of posts we are going to build yet anotherHello World C# library! Sounds interesting? 😇
No! right? Well, we are going to build,pack and deploy the library using Nuke! and to automate the process we are going to use Github Actions as our workflow automation tool.
So, without further ado, lets get started!
What is Nuke?
Nuke is a build automation library that is bootstrapped with simple .NET console applications and build steps that are defined as regular C# properties. Some of the key features of Nuke are:
- No Need to write any XML or YAML files for your pipeline, just annotate your Build class with attribute, Nuke will do the rest!
- Nuke is a cross-platform build automation tool, it can be used on Windows, Linux and Mac.
- Nuke is a C# based build automation tool, so you can use all the power of C# to write your build steps.
- Make your build steps reusable by creating your own building blocks.
- Nuke takes Fail Fast approach, if any of the build step fails, it will stop the execution of the build.
- Last but not the least, Nuke has first class support for your IDE. You can use Visual Studio, Rider or VS Code to write your build steps. Features like code-completion, navigation, refactorings, and debugging are supported out-of-the-box!
What is Github Actions?
Github Actions is a continuous integration and continuous delivery (CI/CD) platform that allows you to automate your build, test, and deployment pipeline.
Github Actions gives developers the ability to automate their workflows across issues, pull requests, and more—plus native CI/CD functionality.
In our case, we are going to use Github Actions to run our Nuke build script.
Getting Started
Before we start, Let us create some branches in our repository. We are going to use the following branches in our repository:
-
main - This is our main branch, we will use this branch to publish the package in Nuget with actual version number for public users.
-
release/** - This is our release branch, we will use this branch to publish the pre release version to MyGet with beta tag for public users.
-
dev - This is our development branch, we will use this branch to publish the pre release version to Github Feed with alpha tag for internal users.
Once we have the branches, we are ready to start our journey with Nuke.
Install Nuke global tool
Nuke comes with a .NET global tool that provides a comfortable way to setup and execute your build projects right from your terminal. In this series I am going to use Window terminal to setup everything. Use below command to install Nuke global tool:
dotnet tool install Nuke.GlobalTool --globalFrom now on you can use the global tool to:
- Set up new builds
- Run existing builds
- Leverage shell completion
- Add tool & library packages
- Navigate around root directories
- Convert CAKE build scripts
- Manage secrets in parameter files
Install Extension for your IDE
I am going to show you how to use Nuke with Rider and Visual Studio.
JetBrains Rider
In Rider you can install the Nuke Support plugin to be more productive in writing, running, and debugging your builds.
Once you installed the plugin, you can click the gutter icon next to your targets or hit Alt + Enter from inside their declaration to run and debug them. The top-level item starts a normal execution including all dependencies. From the submenu, you can debug and run/debug without dependencies:
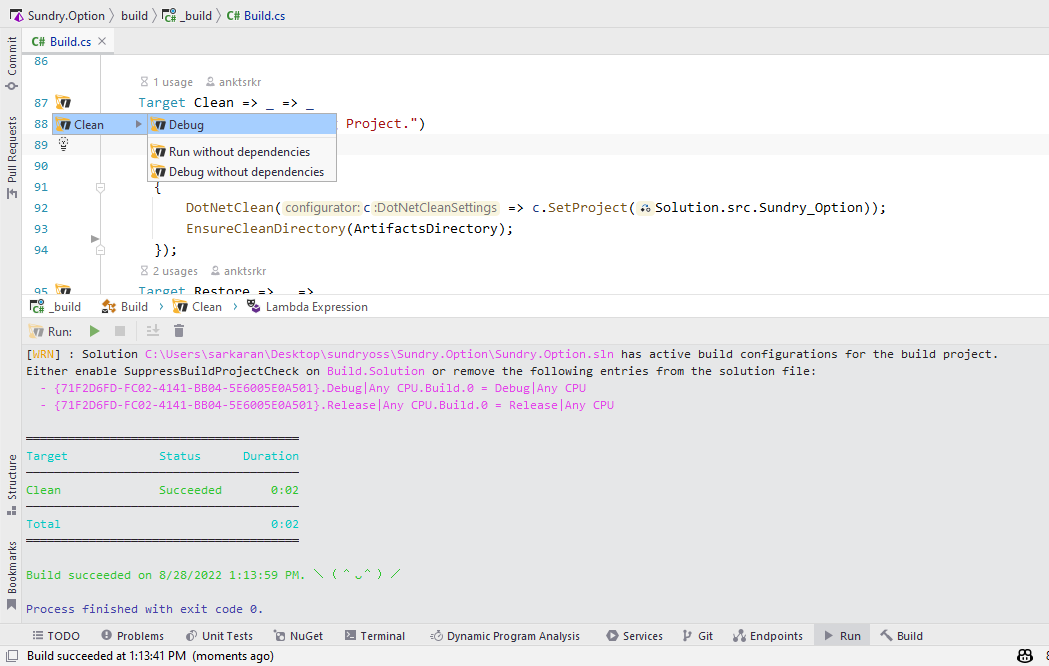
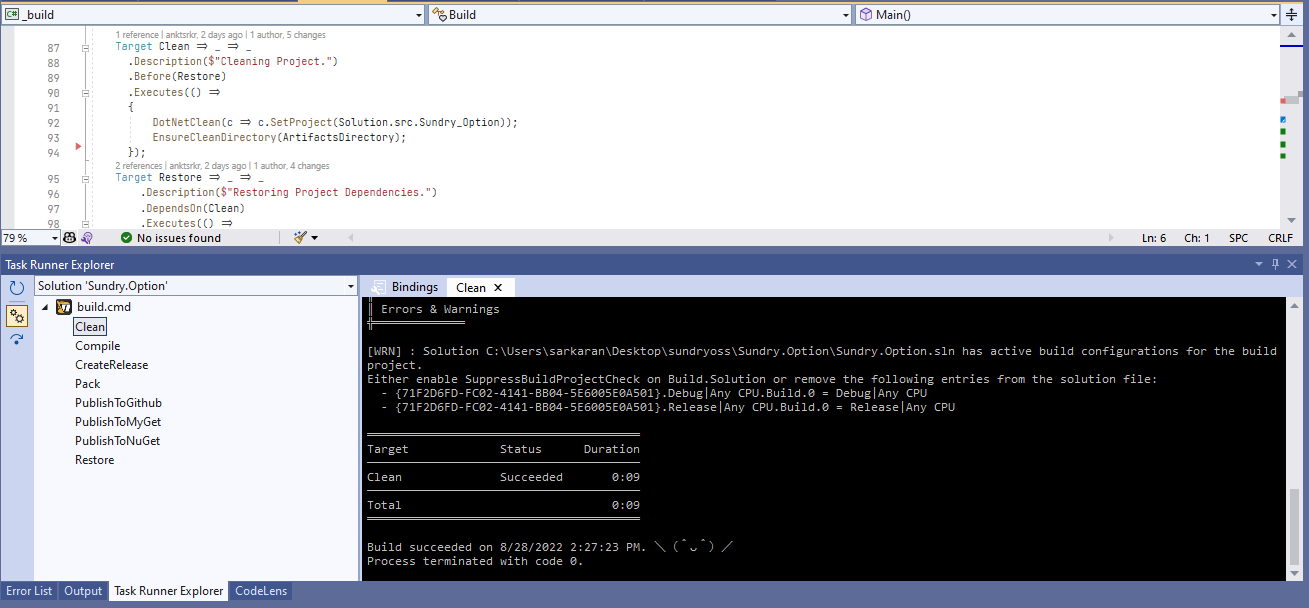
Microsoft Visual Studio
In Visual Studio you can install the Nuke Support plugin to be more productive in writing, running, and debugging your builds.
Once you installed the plugin, from the Task Runner Explorer, you can double-click a target to run it. Additionally, you can use toggle buttons to attach the debugger or skip dependencies:
Setup your first Nuke build project
After installing necessary tools, we are ready to setup our first Nuke build project.
To setup a new build project,run the below command from an existing repository. Nuke will search for the next upwards .git or .svn directory to determine the build root directory. If neither is found, it will use the current directory.
During the setup, you’ll be asked several questions to configure your build to your preferences.
nuke :setupYay! 🎉 Your first build has now been set up, and you can run the build with the default implementation! though it will not do anything because we haven’t added any build steps yet.
In the next article, we will add some build steps to our build project and run it.
Comments